

This post contains affiliate links, which means I may earn a small commission at no extra cost to you if you make a purchase through these links. I only recommend products I personally use and love. Thank you for supporting my blog!
You’ve spent your precious time designing the perfect stencil. You’ve picked out the materials. You’ve cut the vinyl. You’ve weeded the stencil. You laid it out perfectly, and you even covered the stencil edges just in case something dripped. All in, you’ve invested about 2 hours and perhaps $20+.
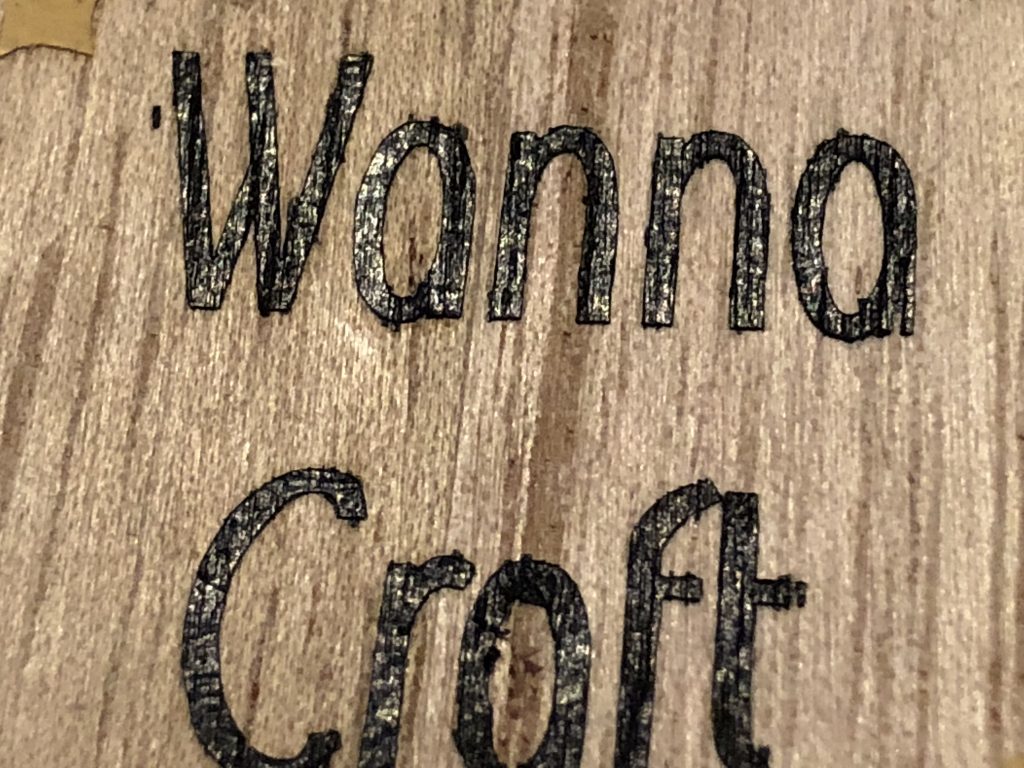
Then… the unthinkable happens. You pull of the stencil and the design looks like S&!@ !! Time and money down the drain. If you are a professional crafter, you’re thinking, “I can’t sell this.”
If this describes you, then please read on.
If you love crafting with stencils but struggle with paint bleeding under the edges, you’re not alone! One of the biggest frustrations for DIY crafters and sign makers is getting those crisp, clean lines when painting over a stencil. Luckily, there’s a simple trick to prevent paint from seeping under your stencil, and the secret ingredient is Mod Podge!
In this tutorial, we’ll walk you through how to use Mod Podge to seal a stencil before painting, ensuring sharp lines and professional-looking results. This method works great for wooden signs, canvas, fabric, and other surfaces. Plus, we’ll share some pro tips to make your crafting even easier!
Why Does Paint Bleed Under a Stencil?
When painting over a stencil, especially on porous surfaces like wood, paint tends to seep under the stencil edges, creating a messy look. This usually happens because:
- The stencil isn’t firmly attached.
- Too much paint is applied at once.
- The surface is uneven or textured, which is probably most surfaces if you think about it.
By sealing the stencil with Mod Podge before painting, you create a barrier that keeps paint from bleeding under the stencil. This trick is a game-changer for crisp, clean designs!
How to Use Mod Podge to Prevent Paint Bleeding
Follow these simple steps to stencil like a pro:
Materials Needed:
✔️ Stencil
✔️ Mod Podge (Matte or Glossy – both work! We typically use Matte)- BUY NOW ON AMAZON!
✔️ Paint (Acrylic, Chalk Paint, or Spray Paint)
✔️ Stencil Brush or Sponge
✔️ Painter’s Tape
✔️ Surface (Wood, Canvas, Fabric, etc.)
Step-by-Step Instructions:
- Prepare Your Surface
- Make sure your surface is clean and dry before starting. If working with wood, a light sanding helps create a smooth base.
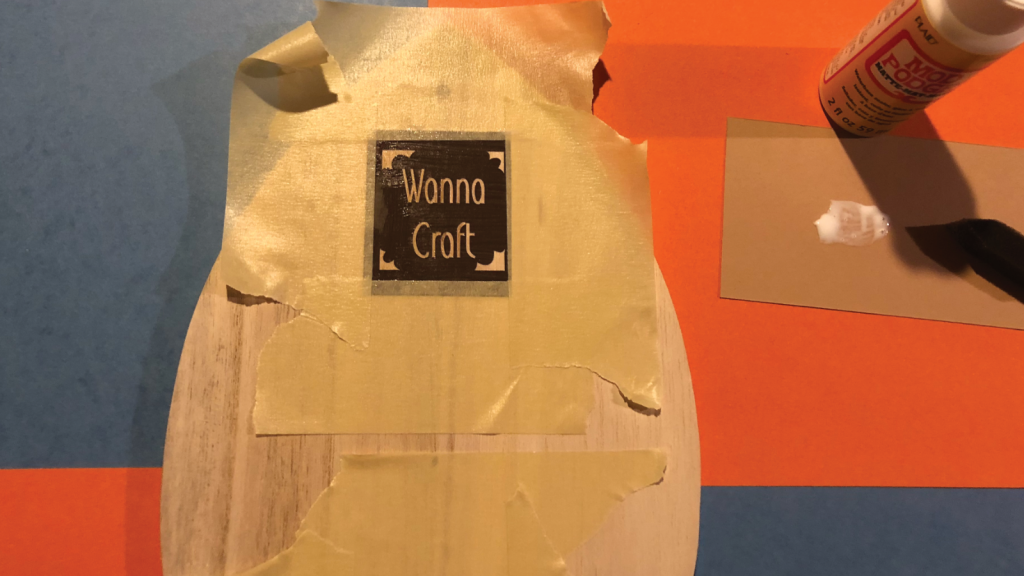
- Position and Secure the Stencil
- Place your stencil where you want it and secure it with painter’s tape or adhesive spray to prevent movement.
- If you’re using sticky vinyl, perhaps cut from a Cricut or Silhouette Machine, then the adhesive alone should be enough. You may want to also secure this with painter’s tape. This will ensure stability as well as create an extra layer of “protection” in case there is paint drippage or you accidentally hit the edge with your brush.
- Place your stencil where you want it and secure it with painter’s tape or adhesive spray to prevent movement.
- Seal the Stencil with Mod Podge
- Using a stencil brush or sponge, apply a thin coat of Mod Podge over the edges of the stencil.
- This step seals the stencil and prevents paint from bleeding underneath.
- Allow the Mod Podge to dry completely (about 10-15 minutes).
- Apply the Paint
- Use a dry brush technique to apply paint in light layers.
- Dab the paint on instead of brushing side-to-side to prevent lifting the stencil edges.
- Let the first coat dry before adding more layers if needed.
- Remove the Stencil Carefully
- Once the paint is slightly dry but not fully cured, gently remove the stencil.
- This prevents peeling or pulling up paint.
- Enjoy Your Crisp, Clean Lines!
- Your design should now have sharp edges without messy paint bleeds!
- If desired, seal your project with a clear coat for extra durability.
Why Mod Podge Works for Stenciling
- Creates a barrier that stops paint from seeping under the stencil.
- Dries clear, so it won’t interfere with your design.
- Works on various surfaces, including wood, fabric, canvas, and glass.
- Easy to use and beginner-friendly!
Bonus Tips for Stenciling Success
✅ Use a light hand – Too much Mod Podge or paint can cause smudging.
✅ Choose the right stencil brush – A stiff brush or sponge works best for dabbing.
✅ Test on scrap material first – If you’re new to this technique, do a quick test run.
✅ Work in layers – Multiple thin coats of paint are better than one thick coat.
Final Thoughts
Using Mod Podge to seal a stencil before painting is a simple yet powerful hack that will elevate your crafting game! Whether you’re making DIY signs, custom t-shirts, or personalized home decor, this trick ensures clean, professional-looking designs every time.
For such a small expense, it will save you money, frustration and time.
Want to see this technique in action? Watch the full tutorial ON YOUTUBE ! Have you tried this stenciling hack? Let us know in the comments below! And don’t forget to pin this tutorial for later. Remember: You Wanna Craft and We Wanna Help!