MATERIALS |
Get the FREE .SVG File HERE |
STEPS
1. Create the designIn this instance, the football and text were created using a drawing program (Figure 1). In this instance, Serif DrawPlus was used. Whatever program you use, be sure to save it as an .SVG file. You could likely skip this step and go right into Cricut Design Space. However, they often sell their clip art and patterns for a relatively high price. You can request a custom design here by e-mailing help@wannacraft.com or visit our Etsy shop and purchase inexpensive ones there.
2. Prepare The File in Design SpaceUse your computer and log into Cricut Design Space. Import your design (from step 1) or start from scratch to create a new one in their program (Figure 2).
After you upload your file into Design Space, make sure that you select all of the objects of the design. In the bottom right of the program, click ATTACH (Figure 3). This will ensure that the image is properly grouped together when you go to cut the pattern. Before you move on to the cutting phase of the pattern, you'll want to ensure that you have the proper size. You don't want to have an image that is too large nor too small for the shirt being used. You can get recommended dimensions HERE. In this case the boundary dimensions were 6.5" tall by 9.5" wide. This is for a child's Small t-shirt. 3. Cut The vinylWhen you move on to the cutting phase of Design Space, be sure that you click the MIRROR slider. Again, make sure that you Mirror the image! I have ruined many an image and wasted costly vinyl by failing to do this basic step. There are Design Space tutorials in the Resources section of this site if you need more information on how to navigate the program.
Mount your heat transfer vinyl (shiny-side down) on your sticky mat. Set your Cricut Machine on the proper setting for IRON-ON. Load into into your Cricut machine and cut it. 4. Weed The ImageUse your weeding tool to remove all of the negative space leaving only your image and words (Figure 5). Don't try to rush this process, especially if you have small details. Peel back the excess vinyl slowly and feel free to cut off these pieces to allow you to better access other areas of the design.
5. Position The PatternPosition the pattern on the t-shirt. You can make the position with pins, etc so that you can locate the correct area later. For a child's small shirt, you want the top of the pattern to be 2" down from the bottom of the collar.
6. Iron It OnUSE DRY IRON (NO WATER IN IT AT ALL) ON IT'S HOTTEST SETTING. First, iron the portion of the shirt where the pattern will go. Then position the image on the shirt where you had decided it should go.
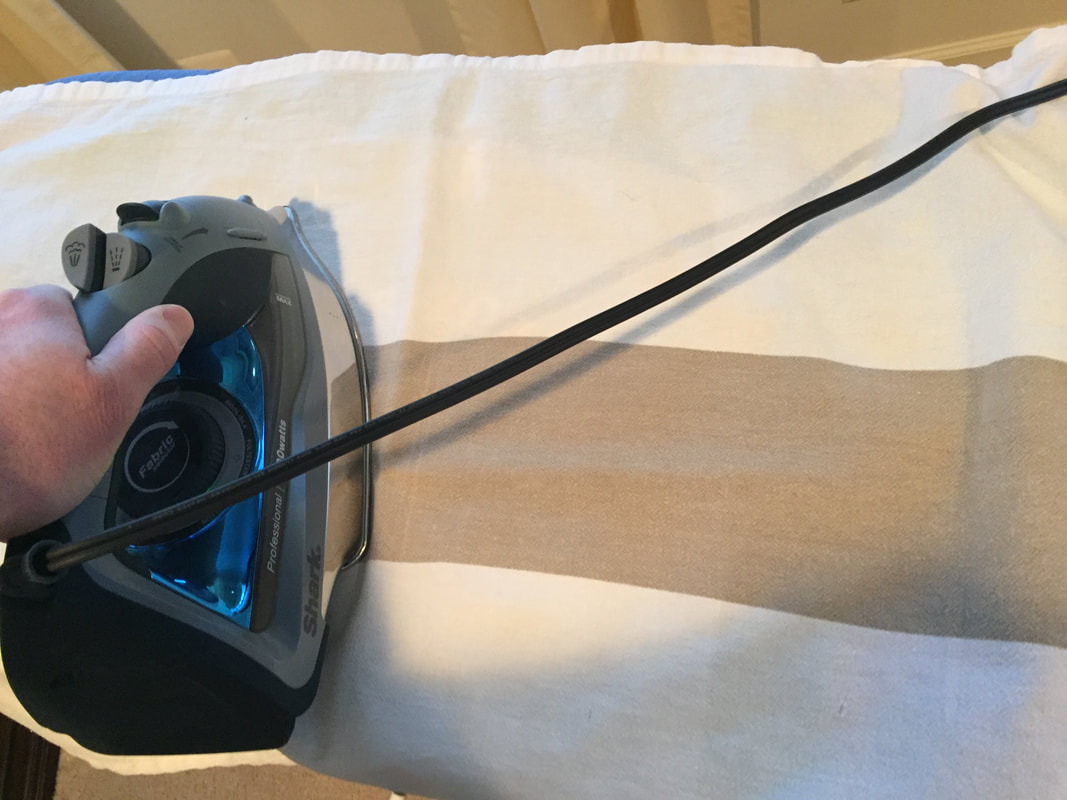
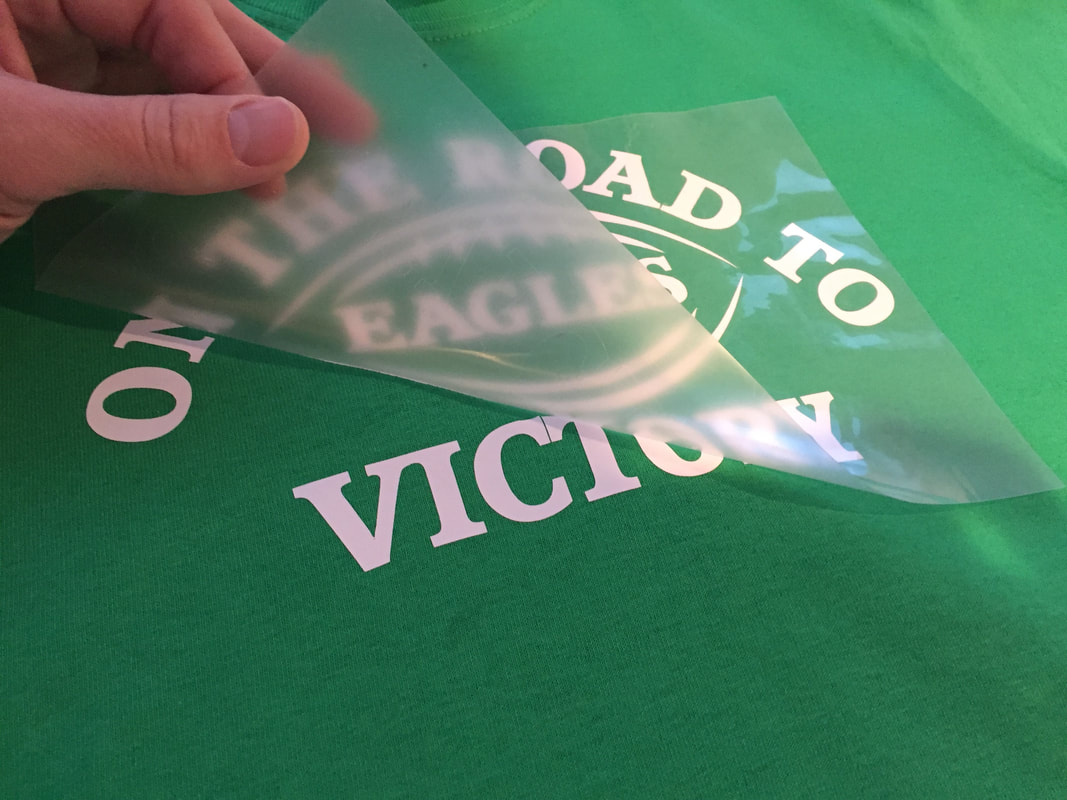
Place a pieces of parchment paper on it and press the iron over the images, lifting and moving as you move across the entire image (Figure 7). Do not slide the iron across the surface. Do this for a few seconds at each location. Cover the parchment with a light towel. With medium pressure, hold the iron over a portion of the pattern for 25 to 30 seconds (Figure 8). Lift and then place the iron over another portion of the image and repeat for another 25 to 30 seconds. Do this until all areas of the pattern have been heated. Remove the iron, towel and parchment and flip the t-shirt. Cover the back of the shirt with the towel, and heat the backside of the pattern the same way that you did on the front. 7. Remove The LinerFlip the shirt back over so that they image is visible. Allow it to cool for around 5 minutes. After it has cooled, slowly begin to peel the liner from the image (Figure 9). If you notice that areas of it are not properly adhering to the shirt, then place liner back on the pattern. Cover with cloth and re-heat the area for 15 to 20 seconds. After it's cooled, then try to peel the liner off again. There are various manufacturers of heat transfer vinyl. Some brands will be easier to remove than others. Choose the one that works best for you.
8. It's done!Congratulations. You're now ready to cheer for your favorite team. If you have any additional questions, please e-mail us at: help@wannacraft.com. You can also find a video demo at our YouTube site.
|
|


