Disclosure: We are proud affiliates for some of the below products. This means that if you click on an affiliate link and subsequently make a purchase, we will earn a commission. You pay nothing extra and any commission we earn comes at no additional cost to you.
Do you have an interest in crafting with Cricut's Infusible Ink? In this tutorial, we'll teach you how to use this product to imprint a design onto a ceramic coaster.
We'll also offer some advice and tips that aren't included with Cricut's instructions.
We'll also offer some advice and tips that aren't included with Cricut's instructions.
MATERIALS
|
STEP 1: Edit The File in Cricut Design Space
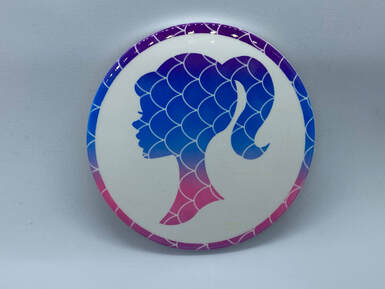
This tutorial features a coaster having the silhouette profile of a Barbie Doll. We finished off the design by having it encircled. You can get the free SVG file below.
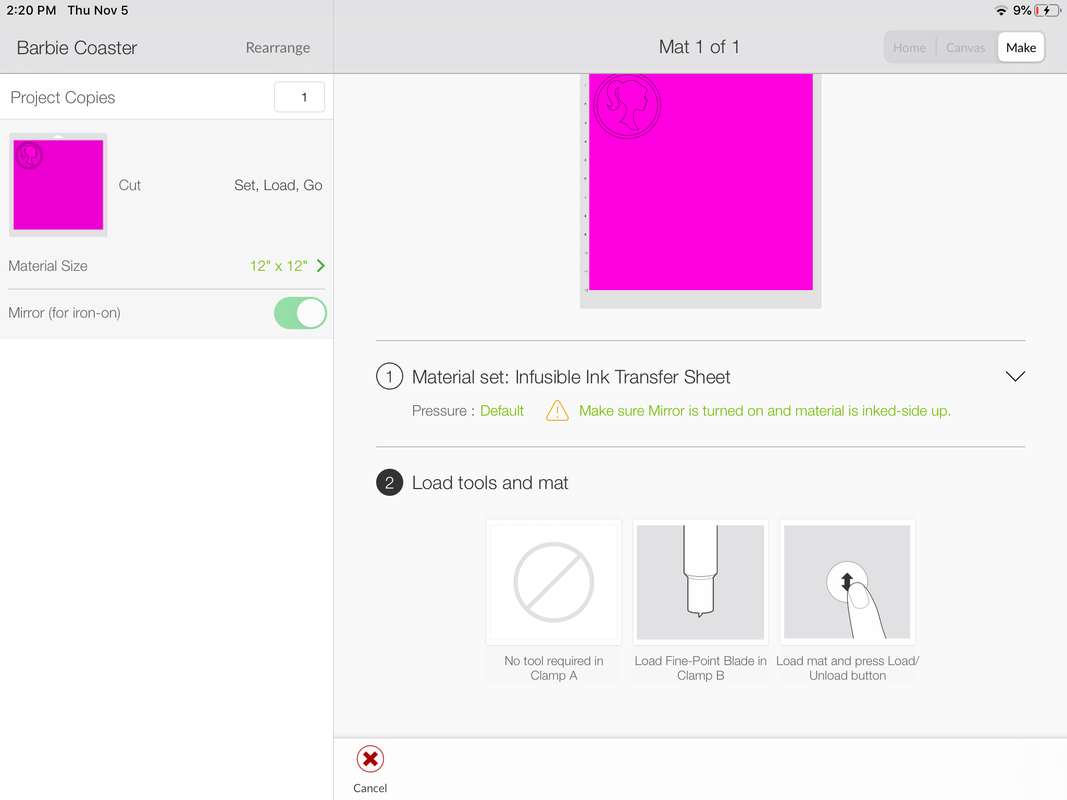
Upload the SVG file into Cricut Design Space. You'll have to make some slight modifications before you can cut the image onto the infusible ink transfer sheet.
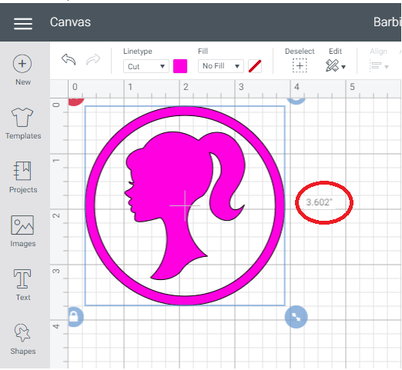
The first thing that you'll want to do is the resize the image. The Cricut branded ceramic coasters have a diameter of 3.6". We resized our image to completely cover the coaster. Note, if you use another type of coaster, make note of its size. Resize your image accordingly.
The first thing that you'll want to do is the resize the image. The Cricut branded ceramic coasters have a diameter of 3.6". We resized our image to completely cover the coaster. Note, if you use another type of coaster, make note of its size. Resize your image accordingly.
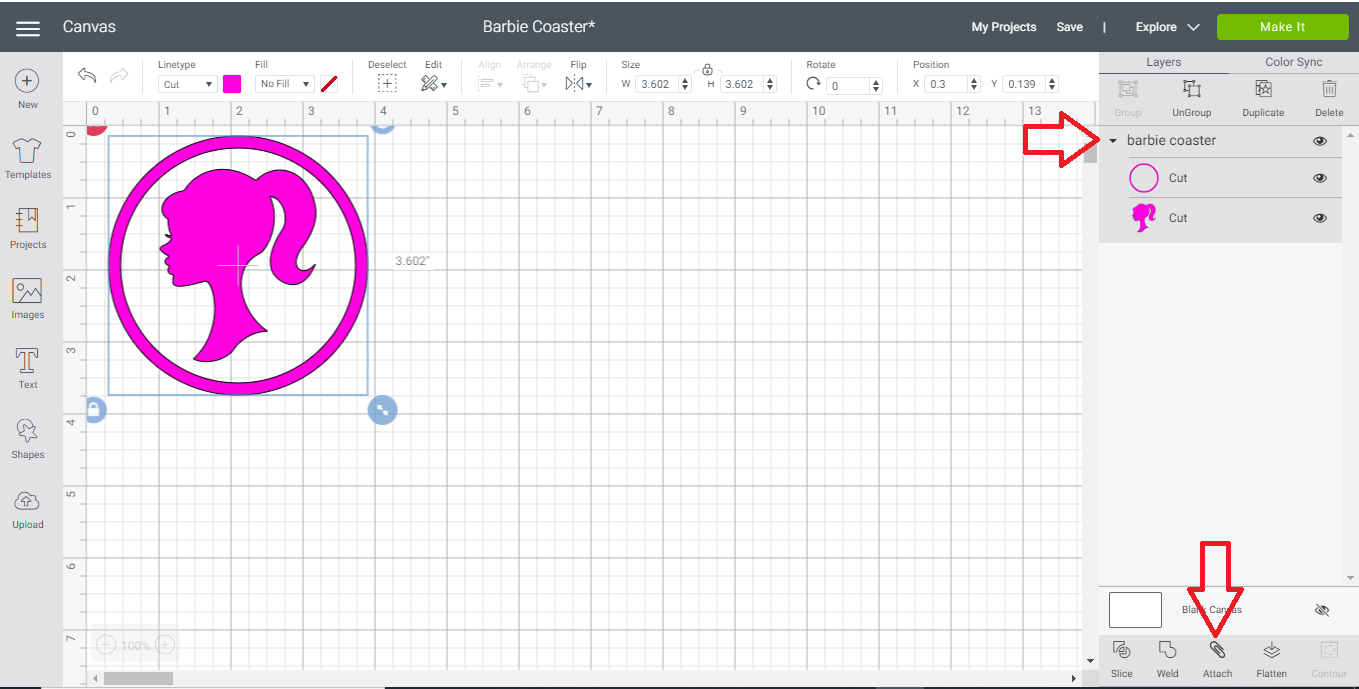
In order to have the outer circle located properly for the cut, you'll need to link it to the Barbie head. Select and highlight both parts of the image in the right menu. Then, click the 'attach' button to complete the process.
STEP 2: Cut the Image
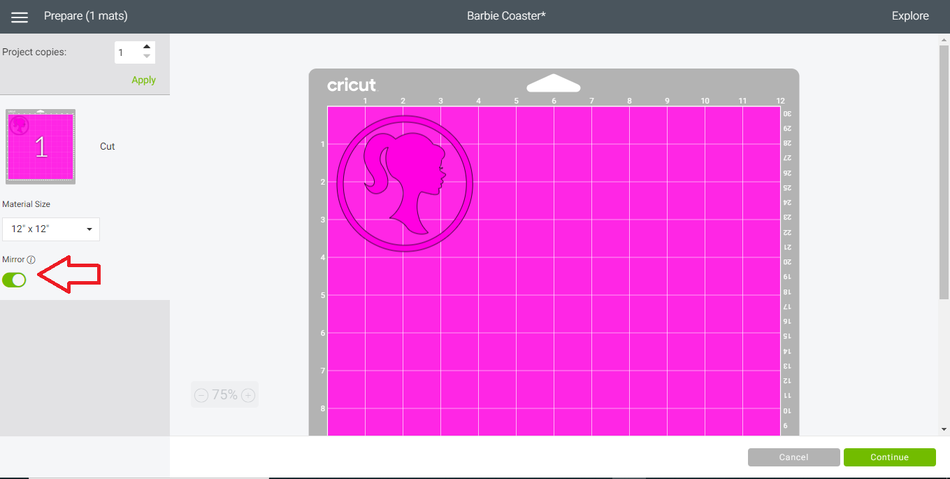
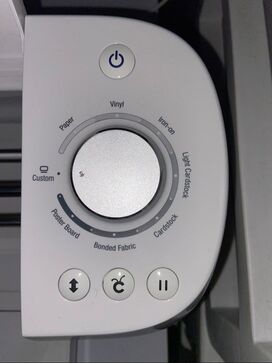
With your image now prepared to cut, turn on your Cricut (Maker, Explore Air, etc). Ensure that you have the image "mirrored". Since you are cutting a relatively newer medium, you'll want to select CUSTOM on your Cricut dial.
With CUSTOM selected on your dial, you will be prompted to select the cutting material. Search for 'Infusible Ink'. You will find 'Infusible Ink Transfer Sheet.'
STEP 3: Weed the Image
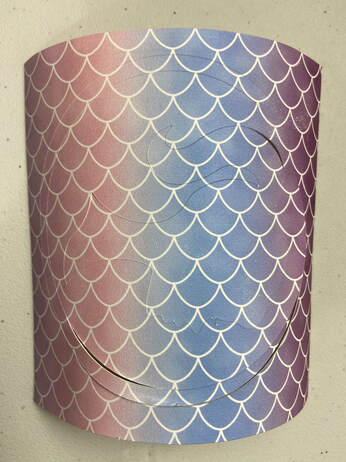
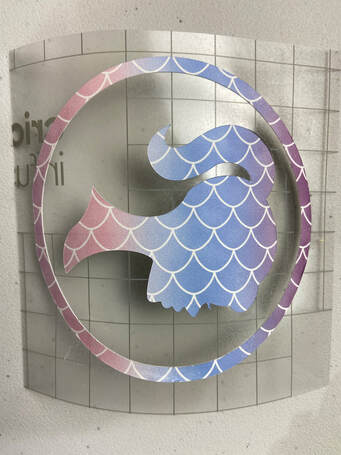
Here is a tip that they don't tell you in the Cricut instructions. As you can see from the following images, the Infusible Ink doesn't cut as cleanly as (say) standard vinyl. There were a lot of areas where the blade cut through the backing. This isn't overly critical as the image will get heat transferred onto the coaster.
I tried to use a different setting, between light cardstock and cardstock. However, the cut was not deep enough. We will experiment with different settings and give our recommendations in a later post.
I tried to use a different setting, between light cardstock and cardstock. However, the cut was not deep enough. We will experiment with different settings and give our recommendations in a later post.
Using your weeding tool, remove the negative part of the image. It may take a few tries to be able to grab an edge. If you haven't used infusible ink transfer sheets before, you'll notice that it is thick like construction paper.
STEP 4: Heat Press It Onto The Coaster
In this tutorial, we are using the Cricut Easy Press 2. The directions are laid out fairly clearly. However, they sometimes seem to contradict themselves. For instance, it's not as clear as it should be on how to position the ceramic coaster 'blank.'
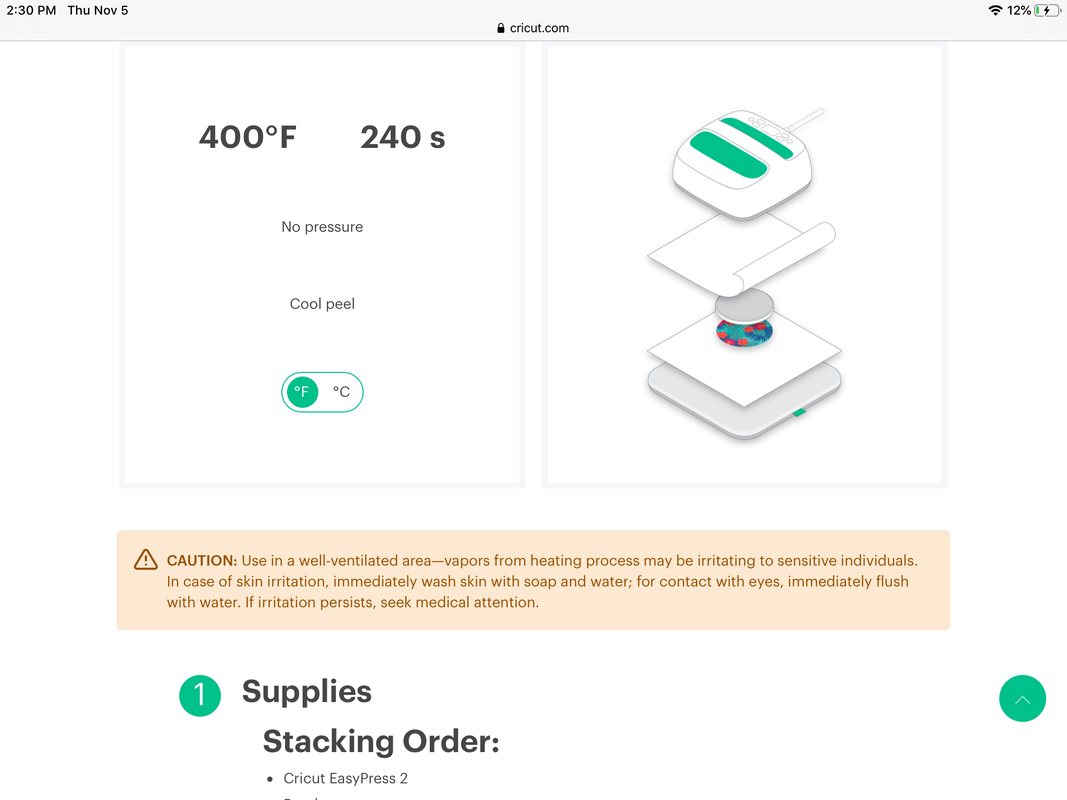
So here is how they want you to set it up. From the bottom:
5. Easy Press Mat
4. White Cardstock
3. Infusible Ink Image (ink side up)
2. Coaster FACE-DOWN (shiny side down) on top of the image.
1. Butcher Paper
TIP: Clean the coaster with rubbing alcohol. You won't want dust on the coaster so you'll also want to use a lint free cloth. However, I am more concerned about having oil from your hands on it. I find that they can discolor the coaster. The rubbing alcohol will help with this.
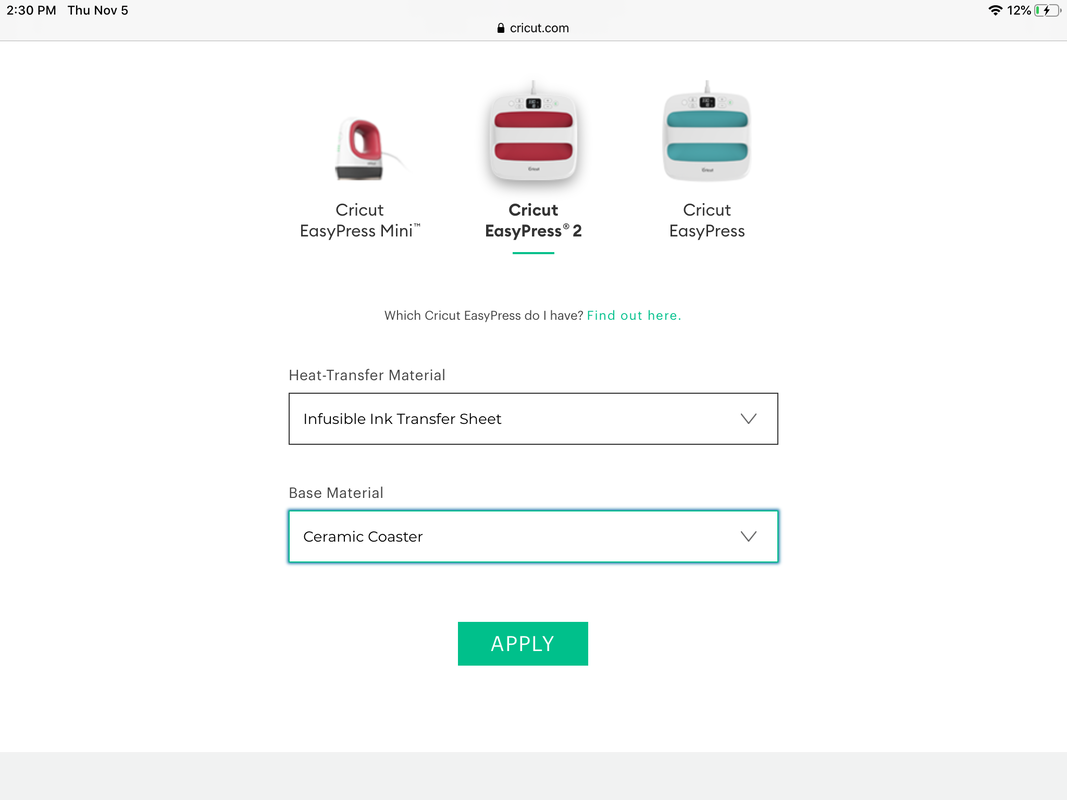
The official settings for the Easy Press can be found HERE.
Essentially, you'll heat it for 4 minutes at 400 F. Don't be alarmed if the temperature fluctuates. Initially it will get lowered as the 'cold' coaster will bring the temperature down.
Place the Easy Press on top of the stack and let it go. You do not need to apply any pressure. Make sure that you hit the Cricut image on the heat press to start the timer. After the four minutes, carefully lift the press.
Allow the coaster to cool. Note, it will be verrrrry hot. When it's cool enough to touch, then flip it over to see how cool it really is.
E-mail us with any questions! Happy Crafting!

