Mounting Your Essential Oil Roller Labels
|
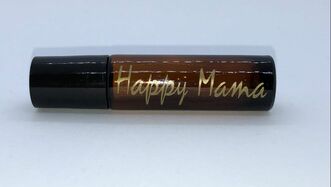
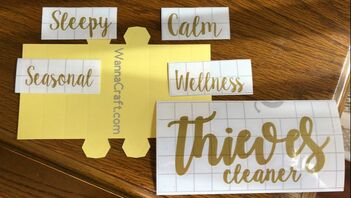
You bought your essential oil rollerball labels on Etsy or you made them yourself. Either way, you want to mount them properly. Here's how.
|
MATERIALS
STEPS
1. CLEAN THE SURFACE
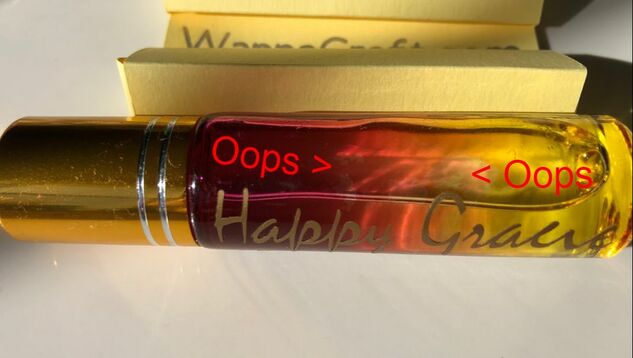
Using rubbing alcohol, wipe down the oil roller where you wish to apply the label. You'll want to ensure that the area is oil or residue free. Wipe the rubbing alcohol off using either a paper towel or soft cloth. Dark brown rollers can easily be cleaned this way. For multicolored (or transitioned-colored) rollers, test on a small area first.
2.PREPARE THE DECAL
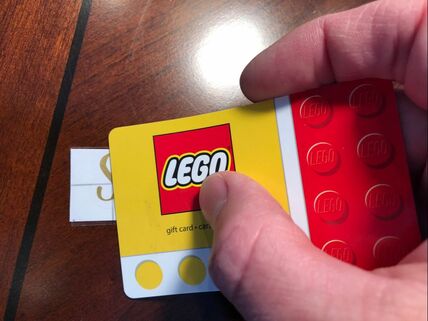
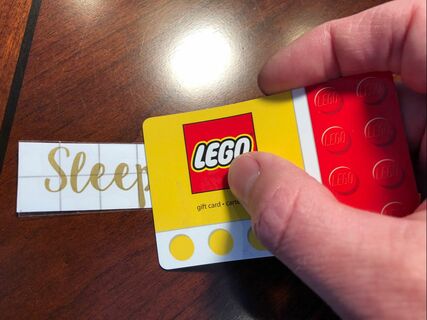
Shipping can lead to a slight separation between the transfer tape (clear material over the decal). Before you peel off the backing of the decal, it is recommended to apply pressure to the decal. You can do so by rubbing a squeegee or credit card across the clear transfer tape. This removes any air bubbles that may have formed and makes the decal adhere better to the transfer tape.
3. REMOVE THE BACKING
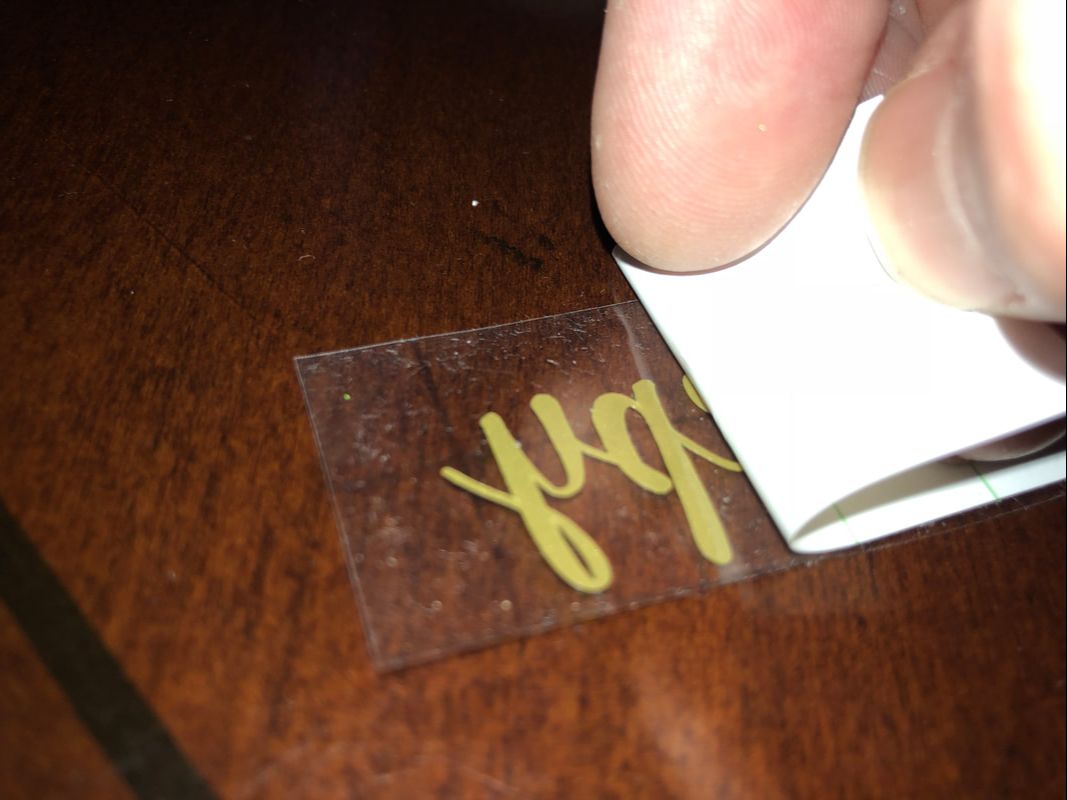
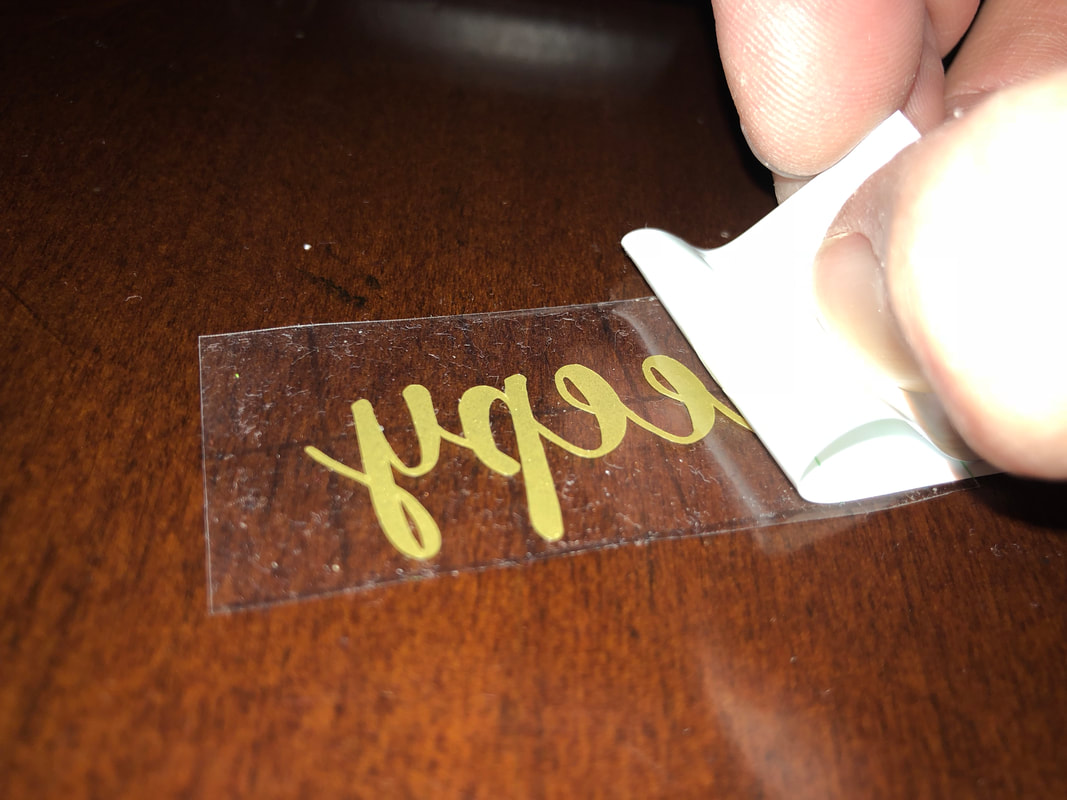
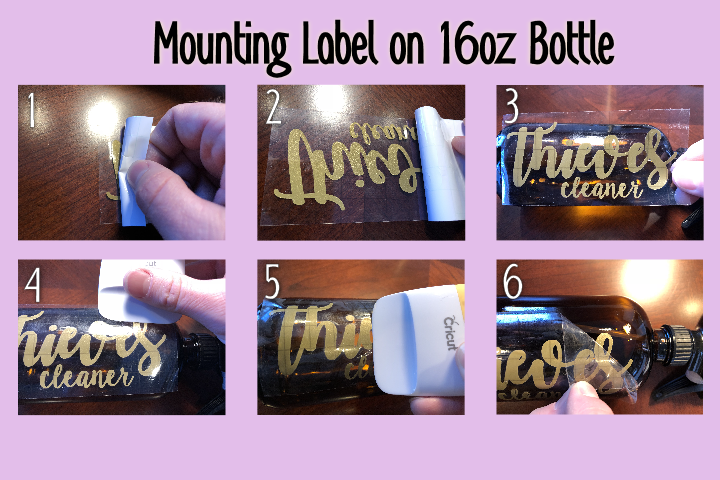
Lay the decal face down on a flat surface. Peel the white paper backing off the vinyl decal slowly. You'll almost want to "roll" the backing off rather than pulling it straight up.
If the decal clings to the backing (and it may), slowly replace the paper backing and rub the squeegee over the surface. Then again slowly peel off the backing, exposing the decal adhered to the transfer tape.
If the decal clings to the backing (and it may), slowly replace the paper backing and rub the squeegee over the surface. Then again slowly peel off the backing, exposing the decal adhered to the transfer tape.
4. APPLY THE DECAL TO THE OIL ROLLERS
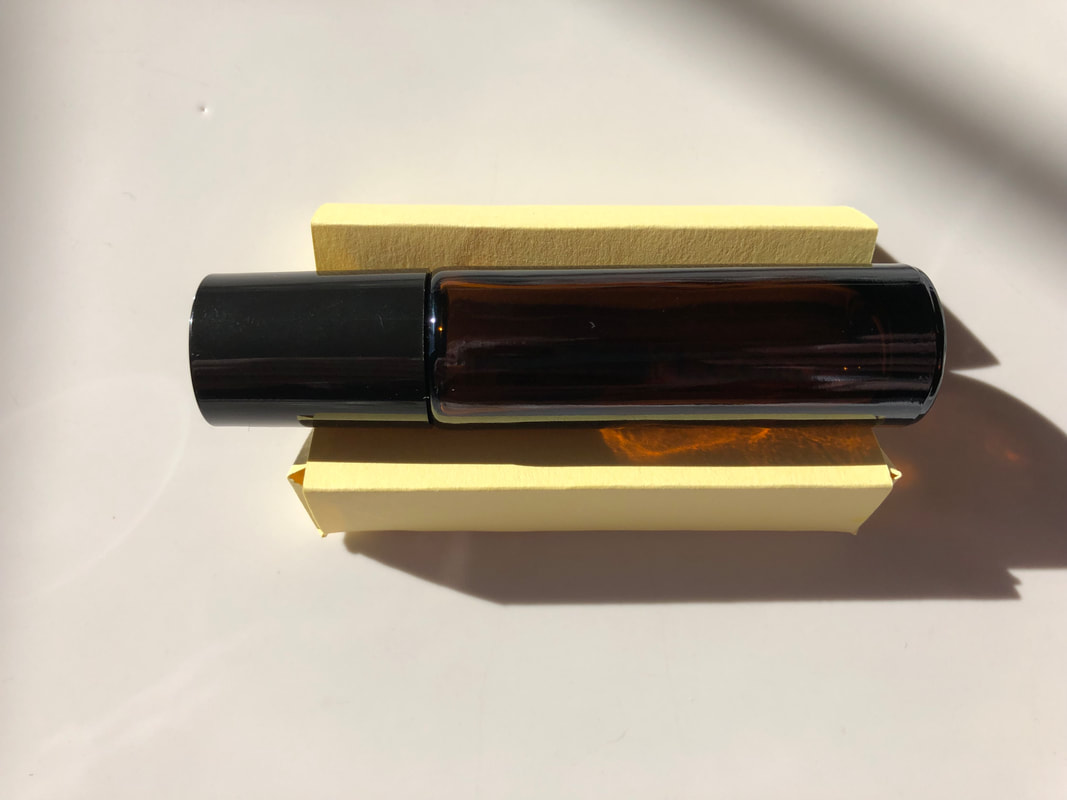
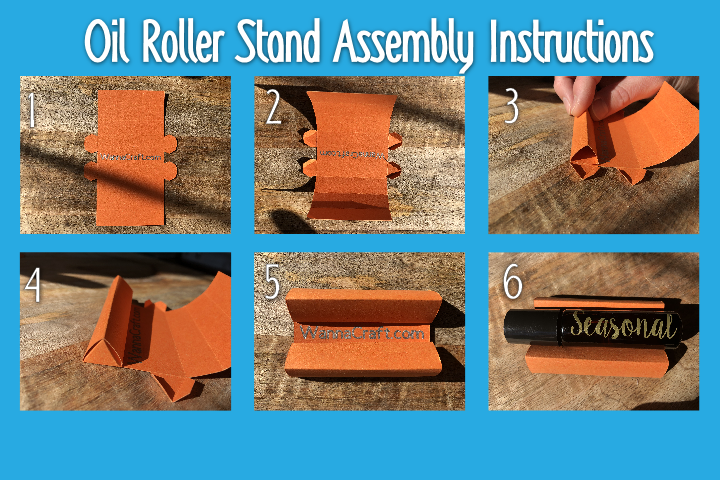
If you have an essential oil holder, you'll want to use it in this step. The IWannaCraft Etsy shop includes a cardboard essential oil holder with every label order. If you have one and need assembly help, click Here.
If you don't have one, then no biggie. Use whatever you have around the house to help prevent the roller from rolling around.
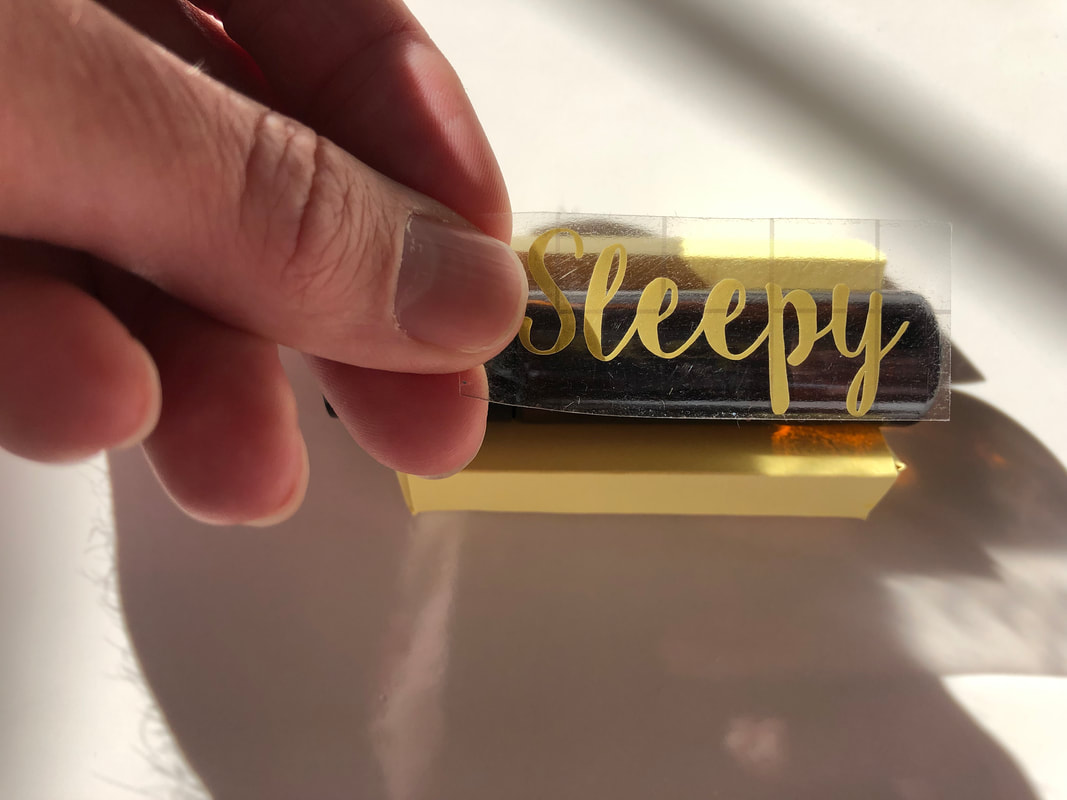
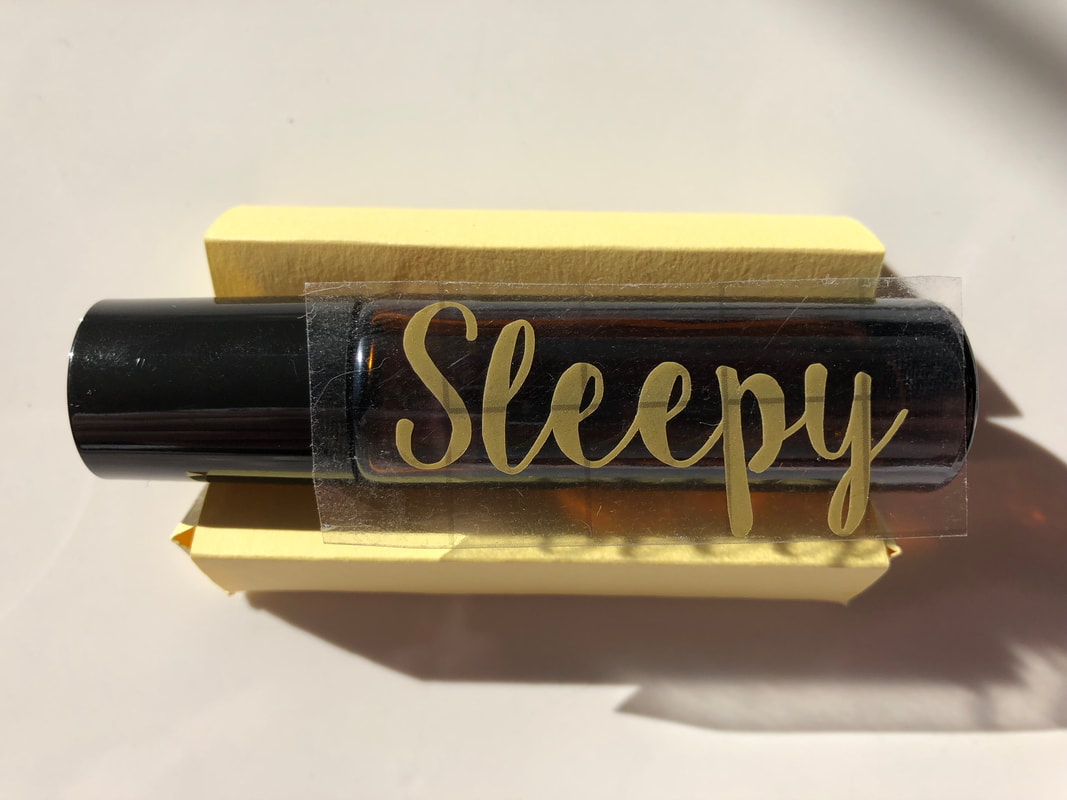
Lay the essential oil roller on its side, again ensuring it doesn't roll. Position the decal so that it is centered [lengthwise] on the rollerball bottle. You want to have the center of the label contacting the bottle first. Due to the curvature of the rollerball bottle, you want to ensure that you don't have any warping of the label.
Next, lightly pressing from the middle upward, adhere the top portion of the decal onto the bottle. Repeat the same for the bottom half, working from the center downward.
CHECK OUT STEP 6 NOW IF YOU AREN'T USING A SOLID COLOR GLASS ESSENTIAL OIL ROLLER. Otherwise continue reading.
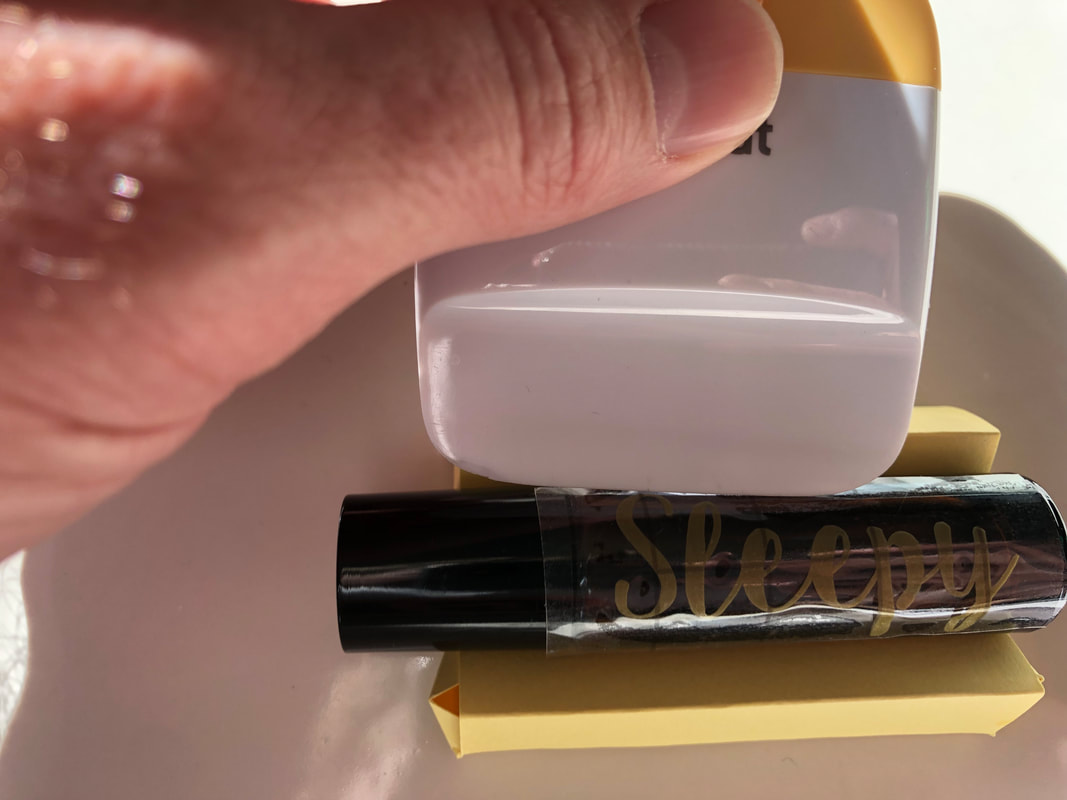
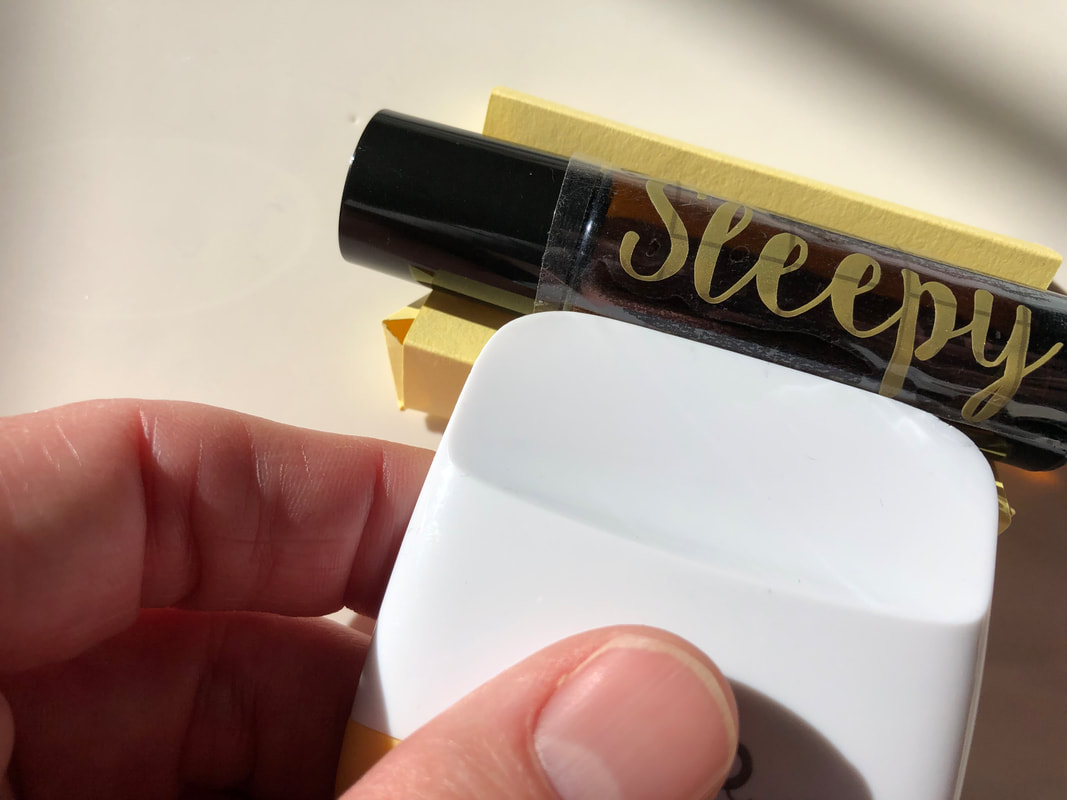
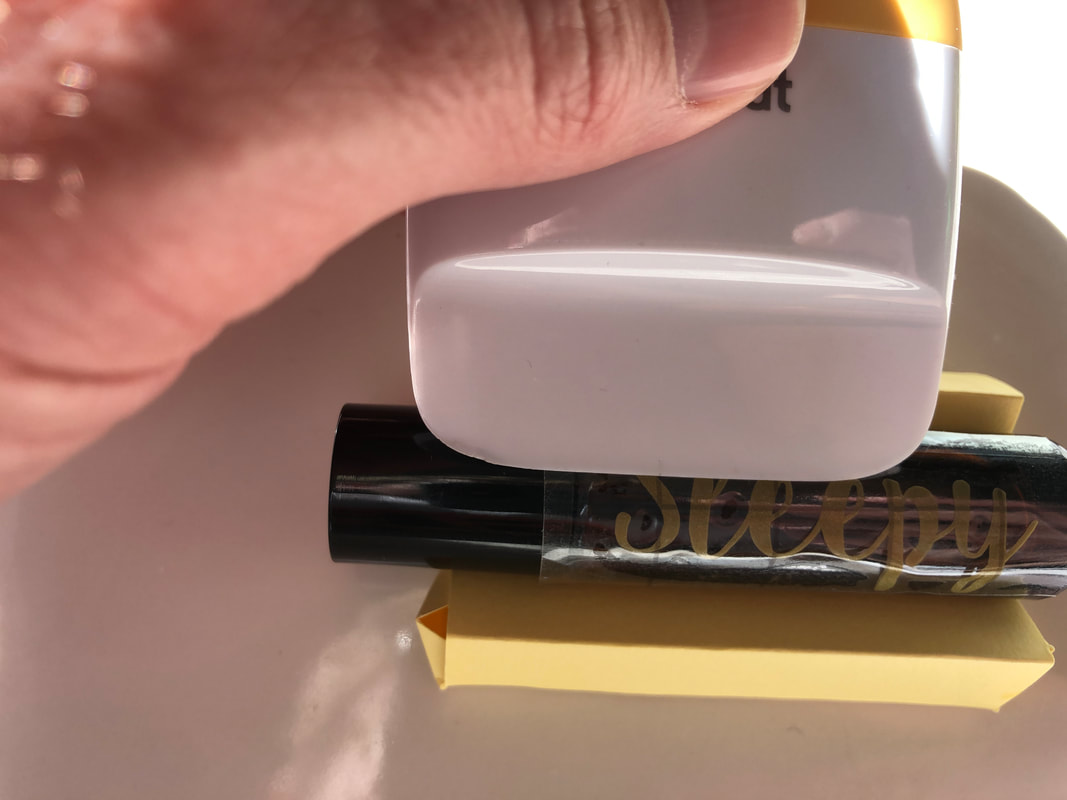
Once the entire decal is adhered, rub it firmly into place using a squeegee, credit card or, an old hotel room key, or an old Disney pass card. Start from the middle and work outwards to remove any air bubbles.
5. REMOVE THE TRANSFER TAPE
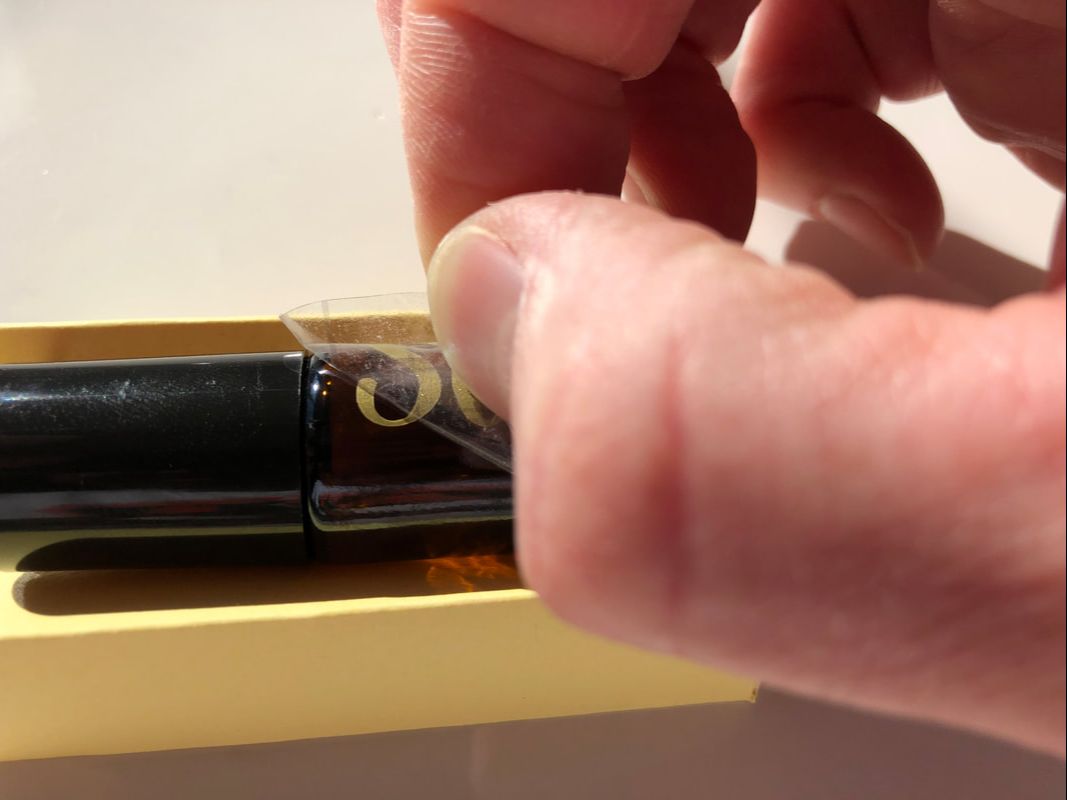
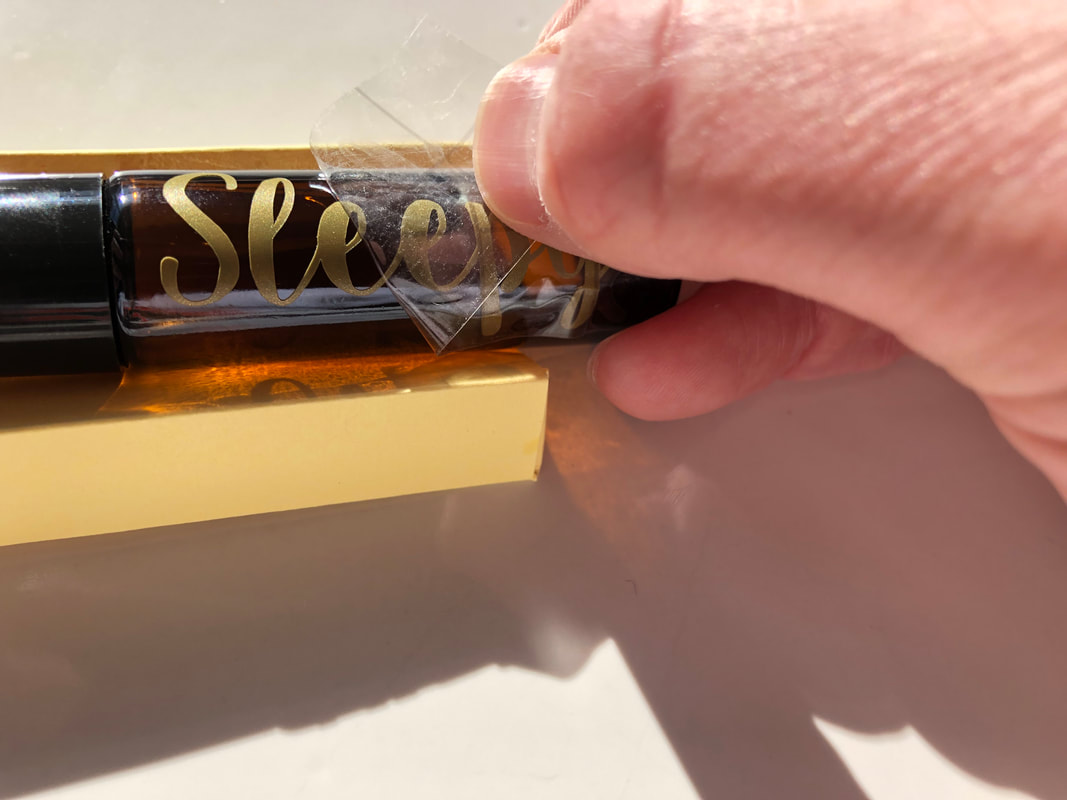
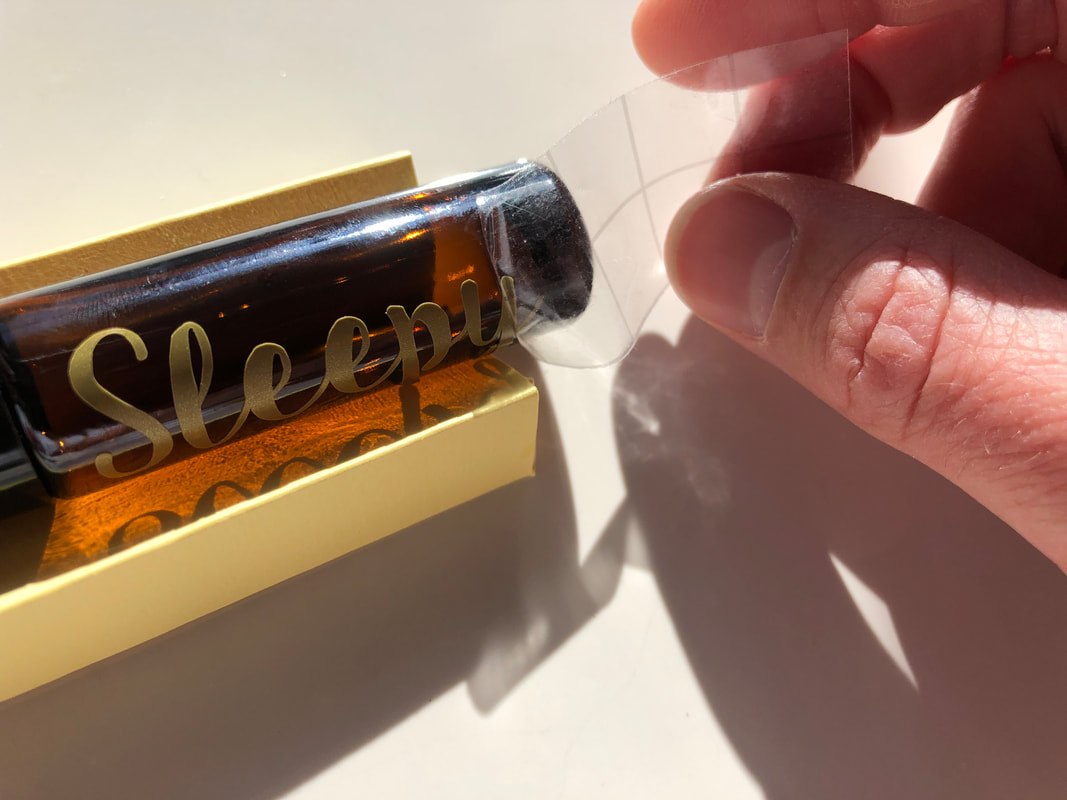
Slowly peel the clear transfer tape off at roughly a 45 degree angle. Be careful not to pull the sticker off the surface. If the decal pulls away from the surface then re-apply the transfer tape and apply additional pressure (rubbing at a 45 degree angle) and then try to peel the tape off again.
And that's it! That wasn't so hard was it? If you have any additional questions, please e-mail us at help@wannacraft.com .
And that's it! That wasn't so hard was it? If you have any additional questions, please e-mail us at help@wannacraft.com .

