
|
Disclosure: We are proud affiliates for some of the below products. This means that if you click on an affiliate link and subsequently make a purchase, we will earn a commission First off, we here at WannaCraft love Cricut's Infusible Ink. It has helped bridge the gap between heat transfer vinyl and screen printing. We have crafted cool t-shirt designs and everyone of our children has benefitted from having their own homemade coasters with their favorite designs or characters. We've benefitted too by not having drink rings on our wooden tables. When compared to using heat transfer vinyl, the infusible ink option is permanent. There is no need to worry about cracking, peeling or flaking. When used on a t-shirt it becomes a permanent design. It bends and stretches effortlessly even on highly flexible fabrics. That being said, Cricut's infusible ink does not come without its own set of issues. It is not perfect by any means. We have identified 10 main things that you need to consider before purchasing or using infusible ink. 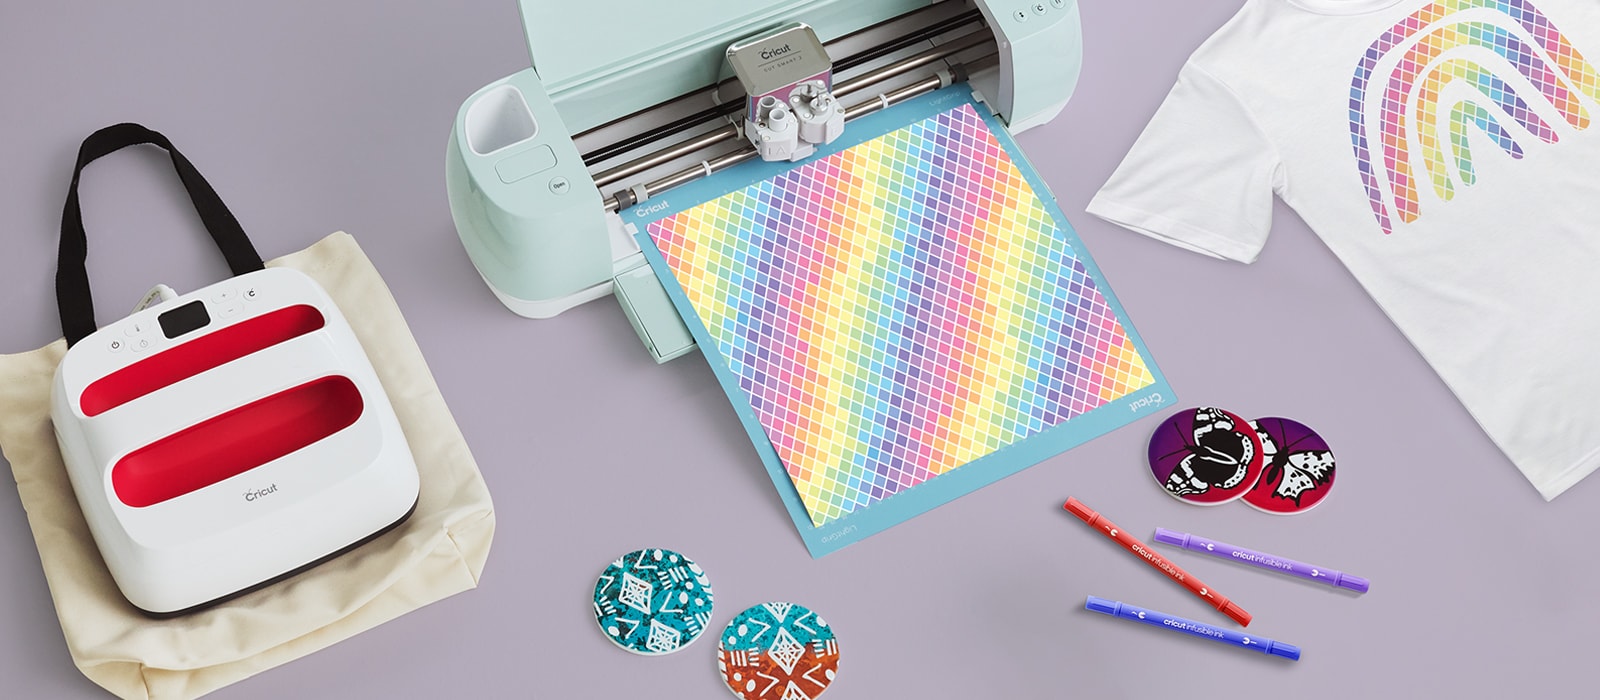 1. It is ExpensiveIf you're a novice HTV (heat transfer vinyl) crafter, then you may think that the medium is already expensive. However as one gains more experience, one knows how to find good deals on heat transfer vinyl. Additionally, you learn to cut wisely and save your scraps. That being said, let's compare apples to apples. We did the math and crunched the numbers for the cost per square foot of black htv or infusible ink. It's important to note that we took the average of the best cost. You may find that you can find better prices yourself please just use this as a reference. Here is what we found:
As you can see the infusible ink is the most expensive option. We have already highlighted its benefits so we're not telling you that it's not 'worth it'. However, you should know before you make the investment that your materials will be more expensive. This is even more critical if you plan on selling your own crafts that utilize infusible ink. You may need to adjust your prices, accordingly. There are other factors that add to the cost which we will touch upon later in this list. 2. Does Not Work On Dark-Colored Shirts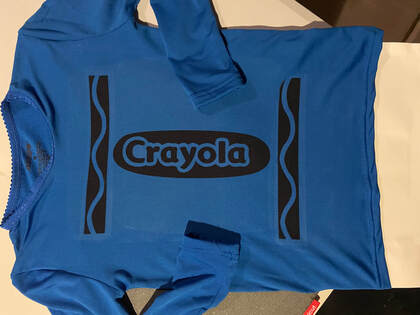 There is a slight caveat to this point: you can use dark colors on dark materials, but it depends on 'how dark.' In making my daughter's Crayola-themed Halloween costume, I was afraid that the black lettering wouldn't work on the navy colored shirt. What I did, and what I recommend that you do, is to test the smallest part of the design first (if possible) to see how it looks. If, for whatever reason, it does not become visible, you can always switch to heat transfer vinyl. You can overlay your design with the vinyl and no one would ever know that you messed up. In the case of the Crayon shirt, I first tested the logo's 'squiggle' (lack of a better word) design. I figured if it looked bad, I could just overlay with the HTV and no-harm/no-foul. Fortunately, I didn't have to; it came out great. Let's just say, however, you didn't have as good of luck as I did. Like me, you don't want to waste the infusible ink. You've cut out the pattern already and it would be a shame to just throw it away (reference point 1). The solution is to first put down heat transfer vinyl. "What?!," you ask "Didn't we just talk about that?" Look. If you wanna use Cricut's infusible ink on a dark shirt, this is the price to pay. In all seriousness, you need to first create a lighter background for the ink to work. So your options are to use a lighter colored shirt or to put heat transfer vinyl down first and then transfer on the ink. One last point. Be sure that you use a flexible type of heat transfer vinyl, as the shirt that you already purchased would have a high polyester count and would like have a lot of 'stretch' to it. 3. Layering Colors Is Not EasyUnlike when you use heat transfer vinyl, you can create your final design layer-by-layer. You pre-heat your fabric, adhere your first layer, prepare it for the second layer and then repeat the process. Until, Voila, your project is done. Cricut's infusible ink does not allow for this technique. Not unlike overheating your vinyl can cause it to warp, overheating the ink will cause it to fade. With vinyl you have the luxury of simply covering up and 'protecting' your already-adhered layers. This is not the case with the ink. So here's what you need to do. This process also does work with heat transfer vinyl, but sometimes I get lazy and just want to do it layer by layer. You'll need to build your image from your ink transfers and then heat transfer it on all at once. So you'll cut your multiple layers using Cricut's Design Space and weed the designs as you normally would (we hope you didn't forget to 'mirror'). Then, you'll [likely] need to cut around some shapes and piece them together. One thing that is really important to note and actually brings us to our next point. 4. You Can't Layer Infusible Ink On Infusible Ink.We'll jump right into this point since we did such a good job of a segway. Unlike with heat transfer vinyl (wow. I really feel like I'm over-selling HTV today), you can't overlay infusible ink on infusible ink. It's like if you are coloring a design with a marker. What happens if you color over an already-established color? The colors blend, right? With infusible ink a similar thing will happen. The colors will blend, and who know what that would even look like. Worse still, since this would be a two-step heating process, the colors would likely fade. The only work-around and this serves as an early warning is to make sure that your design does not allow for overlapping images. The example that we will use is that of our basic (3 layer) design of the classic claymation abominable snowman. We have a black mouth and a red tongue. If we used HTV, we would just overlay the small design and heat it on top of the black layer. Now, we need to ensure that the black layer has a 'hole' where the red tongue layer would go. This is easy enough to accomplish in Cricut's Design Space. Yet, do NOT forget to do this before you accidentally waste the ink transfer sheet. 5. Cannot Use A Household Iron For Heat Transfer This section stays in line with point #1 related infusible ink being expensive. Depending on what 'blank' (shirt, bag, coaster, etc) that you are using, each adherence process requires a recommended (and specific) temperature. A household iron may be able to work, however, using it would not be a repeatable process. You could end up damaging your work and thus adding to your overall cost. That being said, in order to properly use Cricut's infusible ink, you really need a heat press. Whether it's an industrial heat press or Cricut's Easy Press, it still has a cost adder. Unless you know how hot your household iron is and how long it can keep/maintain your temperature, it may not be the correct tool for the job. You can use your iron and hope that it works, however, it may take a lot of experimentation. If you want the correct tool for the job, then we recommend purchasing the Cricut Easy Press 2. We use it and we love it. If you would like to purchase one too, you can get it on discounted on the Cricut website. 6. Limited to Certain Fabrics and Materials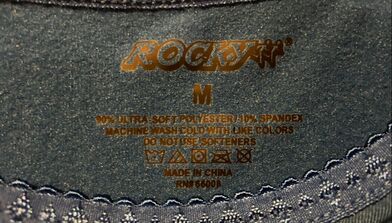 First, Cricut does a great job of making, testing and marketing its products. All of their blanks (that's what they call the shirts, bags, coasters, etc) for infusible ink work great. Do not, however, feel trapped or limited to what you think you can create. What? You don't want to use the plain white tee that is of a very basic design? Who would see that coming? Or you don't want to use the one size bag design? Who would have thunk it? You don't have to use Cricut's blanks. When you're first starting out, we highly recommend that you do use them. You'll want to get more acclimated to the process and their stuff works. You can use other shirts, bags, etc but they need to have a high polyester count. We would say about 80% or more. Again each shirt is different and don't go expecting to sell the first one that you make. It may not come out as good as you want. However, experimenting with different fabrics and clothing designs makes for a fun crafting experience. 7. Cutting and Weeding is Difficult When your design is layered perfectly in Design Space and your ink transfers are mounted onto your sticky mat you need to select the cut setting. Cricut makes this easy and there is even a selection for Infusible Ink Transfers. However, we don't like it. Every time we cut it out our designs, the blade would inevitably cut through parts of the plastic backing. This proved to make the weeding process slightly more difficult. We've tried different settings such as 'card stock' but that wouldn't cut through the ink layer enough. Again, making the weeding process difficult. In the case of a highly detailed design for a coaster, our transfer sheet was wasted and is now in our town's dump. So just stick with the setting that Cricut recommends until we discover the ideal cut setting. One thing that you will notice that weeding the ink material is more like weeding card stock. It doesn't have the flexure that you get with vinyl and it can also rip like a paper-based material would. Be aware of this before you begin weeding. You may want to choose a larger section first before weeding some smaller design areas. 8. Ceramic Blanks Can Get Burned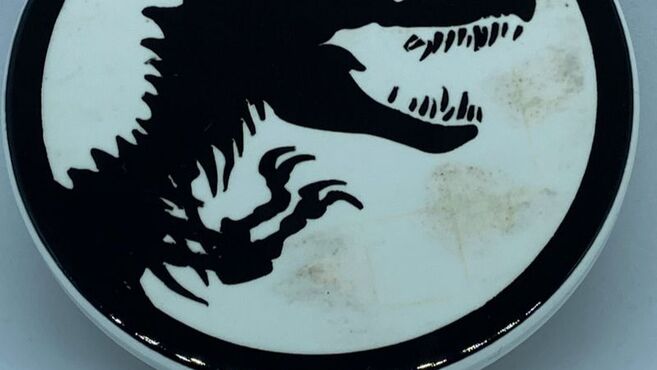 Yeah we figured this one out when we made a Jurassic Park coaster design. The image was of the park's Tyrannosaurus Rex skull. The small teeth details proved difficult to cut and weed for the 3.6" diameter coaster. Having gotten through that challenge, we were all set to permanently adhere the infusible ink. We stacked the necessary items in the correct order that Cricut recommends. Heated it for 4 minutes at 400F using our Cricut Easy Press. Should have been perfect, right? Well after the ceramic coaster cooled and we pulled off the transfer sheet, what we saw was some brownish splotches. We got lucky on this one. Our little one who loves dinosaurs, and for whom the coaster was made, pointed it out. It's not that we didn't notice the 'damage', we just assumed that a 7 year old wouldn't pick it out almost immediately. "We planned it that way," I said to him. "We wanted to give it that worn look since it is for fossils." Are we bad parents? Again, this design allowed for this error. We didn't want to mess up our next design, a Barbie coaster. So how can you prevent this damage from occurring. It's simple. Be sure to wipe the coaster with rubbing alcohol before you apply any designs. Oil from one's skin can stay on the coaster and essentially burn the blank. That is what we gathered happened given some other testing/experiments that we performed. We were able to repeat the damage if we touched it repeatedly and did not clean it thoroughly. One other thing to note is to try to minimize contact with the plastic backing on the ink transfers. Oil on that seemingly causes the grid pattern to become slightly visible in some portions of the coaster. 9. Infusible Markers Need To Be Used CarefullyWe don't mean for this point to sound so morbid. We mean it for for like a 'head up' situation. When using Cricut's infusible ink markers, What You See Is What You Get. Quite simply, the design on your paper will be the design on your finished product. The first thing that we made with the ink markers was, yup you guessed it, a coaster. Our oldest wanted a Flash coaster. The design was crisp and clean. How could it go wrong? Well, we only had the markers to start and did not have the ink transfers with which to experiment. We we had our Cricut machine outline the design using our red and yellow colors. It came out great. Well, for a short period of time, anyway. When we colored it in, it looked like it was colored in with a marker. Of course it would, because it IS a marker. The marker thickness was not substantial enough for the job. As a result, there were coloring lines in the drawing. Those lines will not blend or go away when you transfer the ink onto your blank. As we stressed earlier, what you see is what you will get. Again, this is no fault of Cricut but just something to keep in mind when using the markers. It's best to limit the coloring to smaller areas if at all possible. It is a fun medium to work in but it's not ideal for every project or design. In fact, if you want to try the markers, you can buy them here. 10. Colors Are LimitedWe may be a bit nit-picky but as we write this there aren't as many color options that we would like for the infusible ink. Basic projects and fun designs may be able to get away with a patterned transfer sheet, but we like the option of having multiple color variants. We want to pair an orange with a light brown. Why can't I use a light grey and a dark grey? The color choices that they offer are increasing regularly. However, and admittedly selfishly on our behalf, we want more. We hope that the above advice gives you an overview of what to realistically expect and what to possibly avoid when using Cricut's Infusible Ink. It is a unique and fun product that really kicks the home crafting market up a notch.
If you have any questions, want advice or have any suggestions, please let us know. You Wanna Craft and we Wanna Help!
1 Comment
|
  |