MATERIALS |
- Vinyl Stencil - you can purchase one on Etsy.
- Rubbing alcohol
- Paper Towels or a Soft Cloth
- Old [credit] card or Squeegee
STEPS
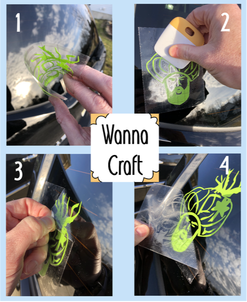
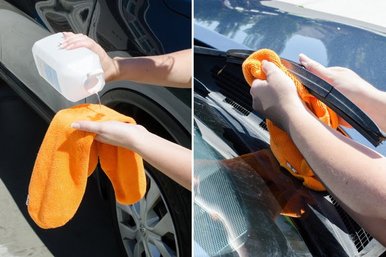
1. CLEAN THE SURFACEClean the area thoroughly with rubbing alcohol or soap and water. Do not use Windex or similar products because it will leave a residue behind that will prevent the sticker from adhering well.
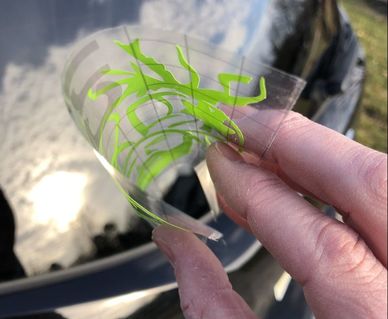
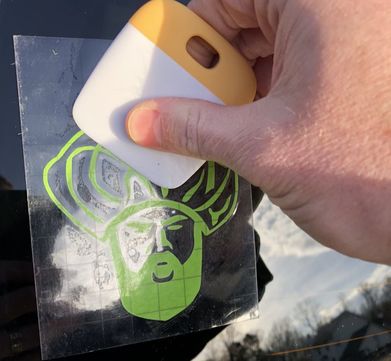
2.PREPARE THE STENCILShipping can lead to a slight separation between the transfer tape (clear material over the decal). Before you peel off the backing of the decal, it is recommended to apply pressure to the decal. You can do so by firmly rubbing a squeegee or credit card across the clear transfer tape. This removes any air bubbles that may have formed and makes the sticker cling to the transfer tape.
3. REMOVE THE BACKINGPeel the white paper backing off the vinyl decal. If the decal clings to the backing (and it may), slowly replace the paper backing and rub the squeegee over the surface.
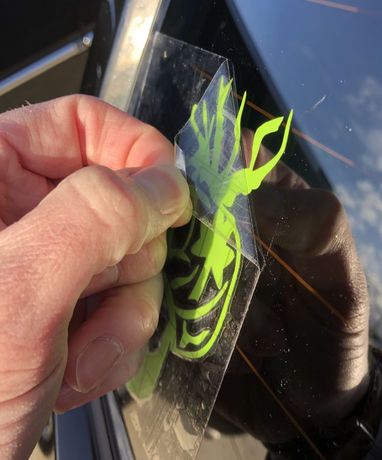
4. APPLY THE DECAL TO THE GLASSSlowly lower the decal onto the car glass. We find it best to bend it slightly and place the center of the decal on the glass first. This helps to accommodate any curvature in the glass and to minimize any air bubbles in the vinyl. Once you've placed it in your desired location, rub it firmly in place using a squeegee, credit card or, an old hotel room key. Start from the middle and work outwards to remove any air bubbles.
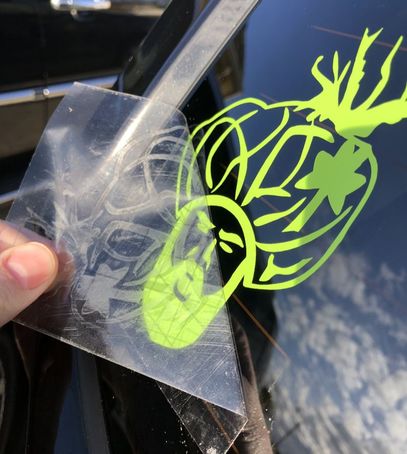
5. REMOVE THE TRANSFER TAPESlowly peel the clear transfer tape off at an angle. Be careful not to pull the sticker off the surface. If the decal pulls away from the surface then re-apply the transfer tape and apply additional pressure (rubbing at a 45 degree angle) and then try to peel away after 20 seconds.
|
That's it. To recap, probably the most important step when you apply a car decal is to have a clean surface. The less dirt and residue on the surface, the better the adhesion of the car sticker. This is important whether you are mounting a decal on a car window or on a laptop.
Another thing of which to be aware is the potential difficulty when peeling off the car decal backing. The type of vinyl (Cricut, Siser, etc) as well as how and/or where it was shipped, there could be more or less adhesion to the backing or the transfer tape. That's why we stress that you run a squeegee or card over the transfer tape before the backing is removed.
If you keep those two very things in mind, then the rest will be the easy part. Parting advice: don't panic, you'll be able to mount this the first time. Other companies like WannaCraft on Etsy, will likely send you a replacement if you ask. Happy Crafting!

