|
So you're interested in learning how to create your own t-shirt using heat transfer vinyl? You've come to the right place. This tutorial on how to iron on heat transfer vinyl assumes that you already have a heat transfer vinyl decal cut and ready to apply to a shirt. If you're looking for decal inspirations, you can find some on Etsy OR get some free images HERE. Once you have your images ready to apply, then you simply need to follow these 7 basic step. Enjoy this no nonsense iron-on tutorial. Watch how here. Or, skip the video and just read the tutorial. Or both! MATERIALS:
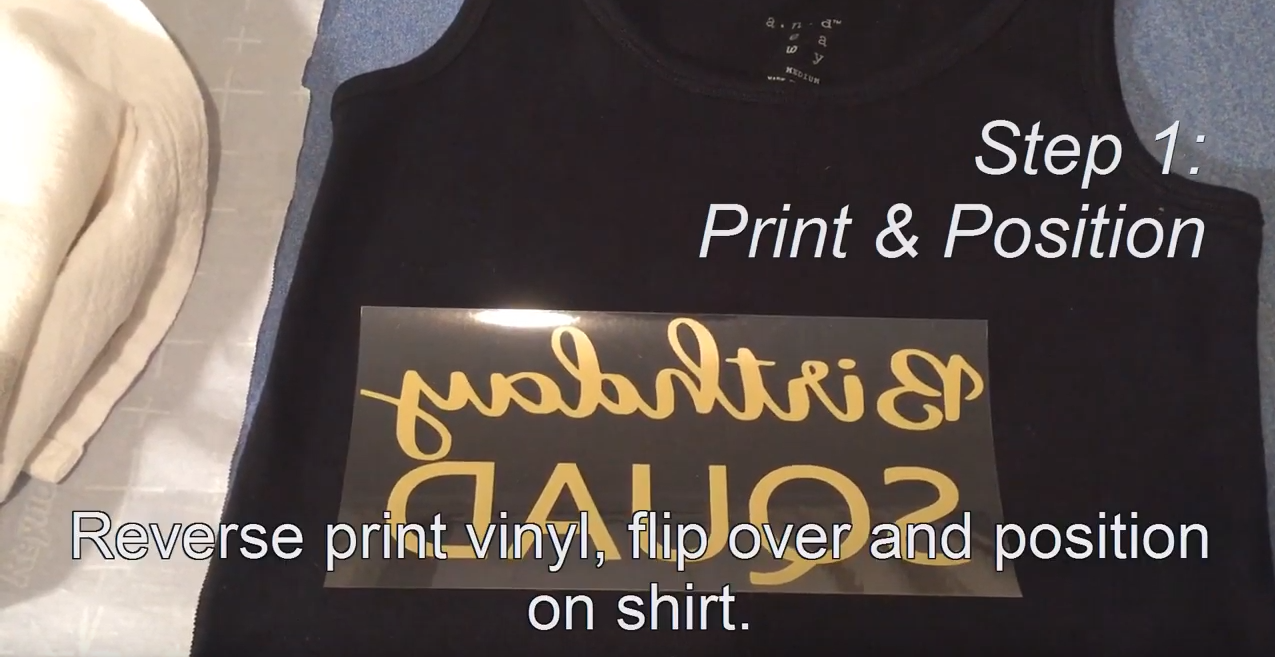
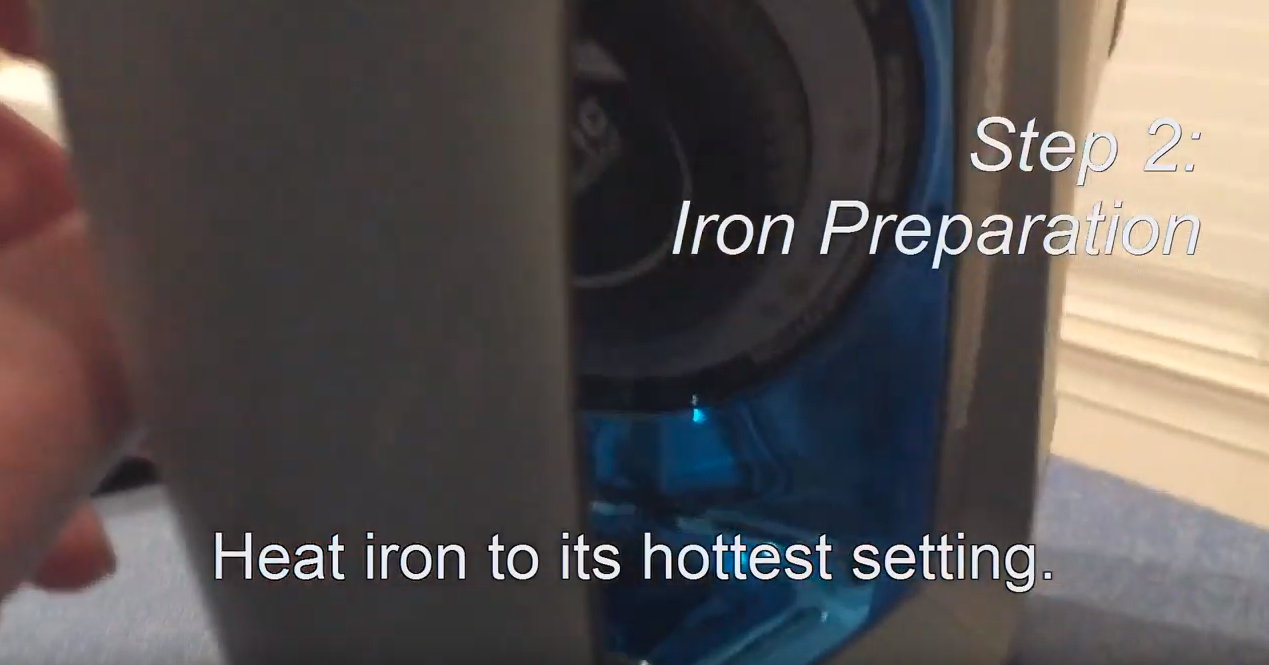
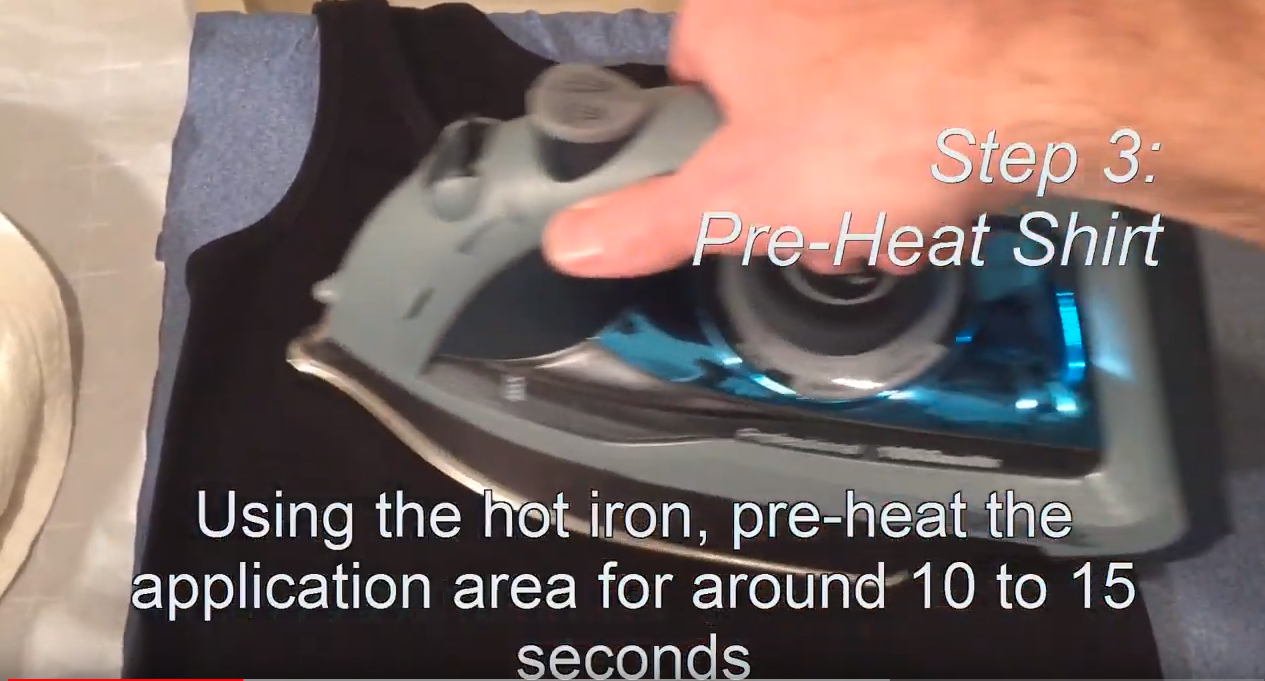
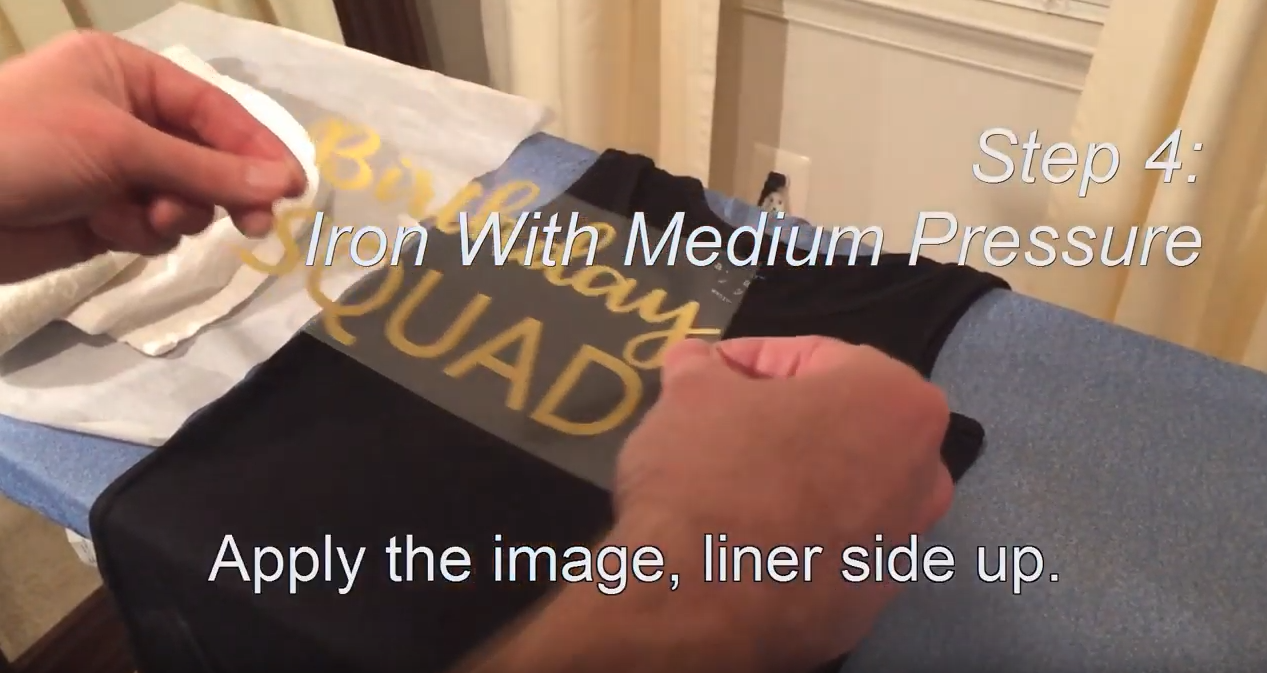
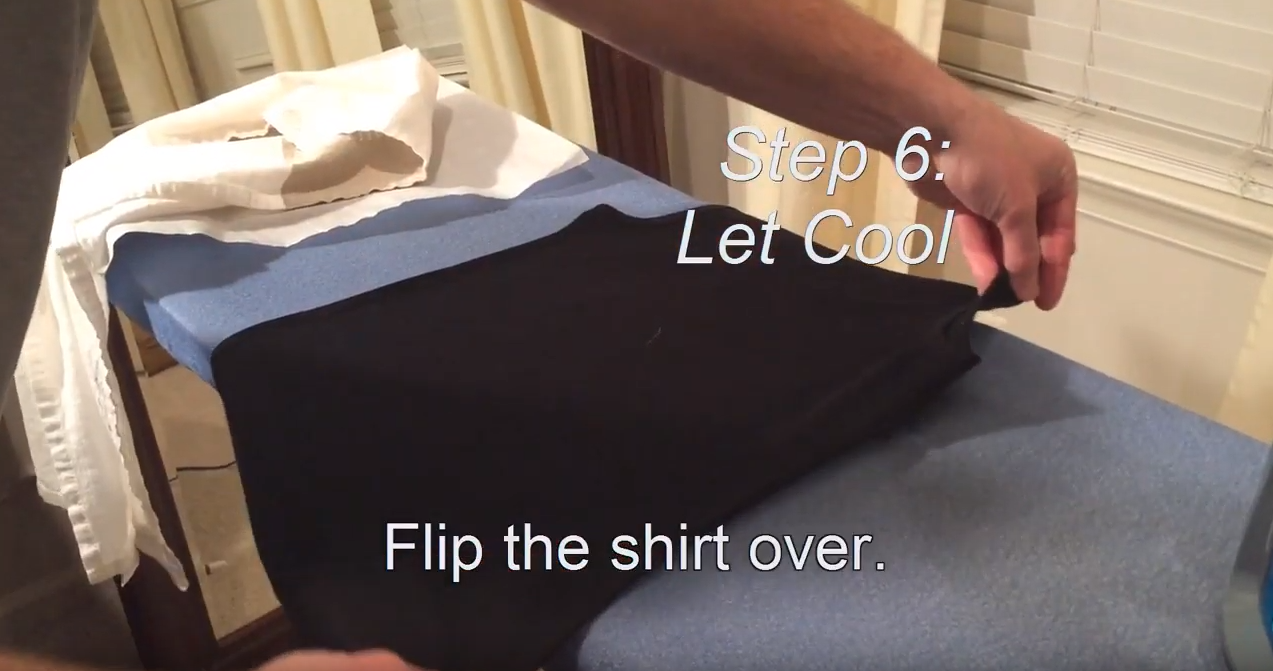
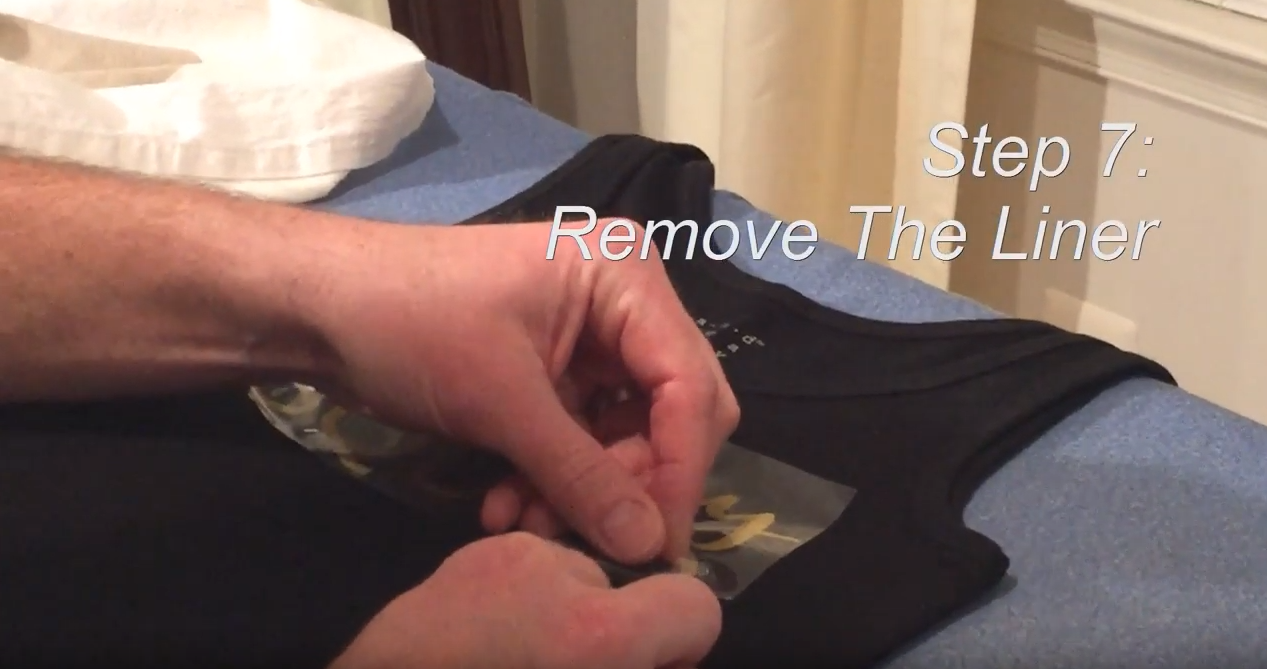
STEP 1: POSITION THE DECALThe first step is to place your printed/cut decal in it's proper location on the item of clothing. You can find the recommended pattern size and ideal location on our Vinyl Sizing Guide. In order to center (left to right) the heat transfer vinyl pattern on your garment, here's a fun trick. Evently, fold the shirt length-wise so that each end lines up. Then, iron the fold. When you unfold the shirt, the crease will now identify the exact vertical center of the shirt. Measure the decals width and mark the center of the decal. We typically scratch or use a pencil to mark it. Just be sure to not write on the actual vinyl, but rather the top clear plastic sheet. You can mark the heat transfer vinyl decal location on your item of clothing by using chalk, or you can just re-measure it before you place it. There are more complicated ways to mark the location, but we'll keep it basic for this tutorial. STEP 2: IRON PREPARATIONOnce you know where you want to place the pattern, you'll need to get the iron ready. Be sure that it is empty of any water. Moisture + Heat Transfer vinyl = Bad. Once it is dry, then turn the iron onto it's highest setting and make sure that the steam function is Off. STEP 3: PRE-HEAT SHIRTUse the [now hot] iron to pre-heat the t-shirt. This will help the vinyl to better adhere to the medium. To clarify, this tutorial is using a cotton t-shirt with standard (non-glitter, not metallic, etc) heat transfer vinyl. Different clothing materials or different vinyl types will require slightly different steps. Overall, however, the process is the same. STEP 4: IRON WITH MEDIUM PRESSUREReplace the HTV decal in its chosen location. Since we can't control the temperature of the iron, we typically place a sheet of parchment paper over the image. We then, place the iron over a portion of the decal and hold for around 10 seconds. Next, move the iron to the rest of the image and again hold for around 5 to 10 seconds. This helps to "set" the image. We then placed a thin towel or cloth atop the design. We did this with the parchment paper but you could likely do without. Place your [hot] iron over a portion of the design. Apply medium pressure for 25 to 30 seconds in that area.. That's what all of the sources say, but really... What the heck is Medium pressure, anyway? We gather that if you're pressing so hard that you start to sweat, break the ironing board, or all of the above... it's too hard. Also, if you burn a hole in the shirt, then that's too much pressure. Light pressure would then mean that you're almost lifting the iron, because your force is so weak. So, you'll wanna be somewhere in between that. Sorry for the medium pressure rant. After 30 or so seconds, move the iron to the yet-to-be-heated portion(s) of the design. Continue until all of the heat transfer vinyl design's areas have been heated. STEP 5: FLIP & HEATTo ensure proper adhesion, flip the design and heat the entire design for around 25 seconds until the entire area is heated. Don't get me started on what pressure that you should use. STEP 6: LET COOLFlip the shirt back over and let is cool a couple of minutes. Again, this may change depending on the heat transfer vinyl used as well as what it is adhered to. Some versions require a "warm peel". Don't worry about that for this demo. STEP 7: REMOVE THE LINERYou're almost done. Grabbing a corner, slowly peel off the clear backing at a 45 degree angle. If the vinyl appear to pull off, stop. Replace the clear cover and re-heat. Then try to pull it off again. Now, unplug the iron, put on your new shirt and go celebrate your new creation! Comment with any questions or thoughts. We're always open for advice and we always wanna craft! You May Also Like
4 Comments
|
|

