|
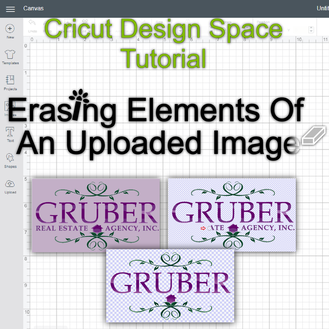
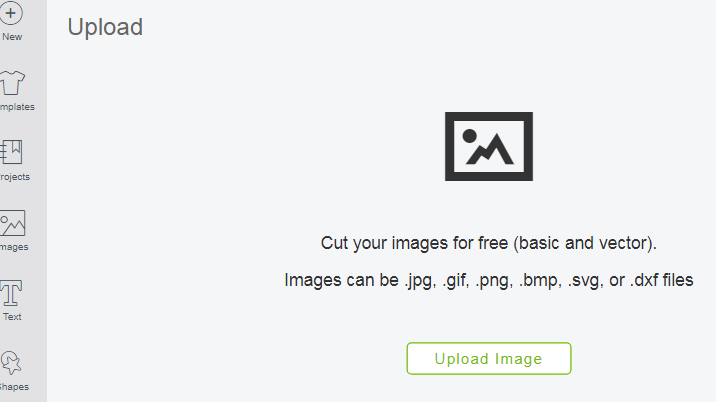
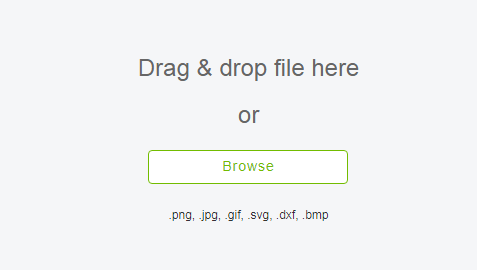
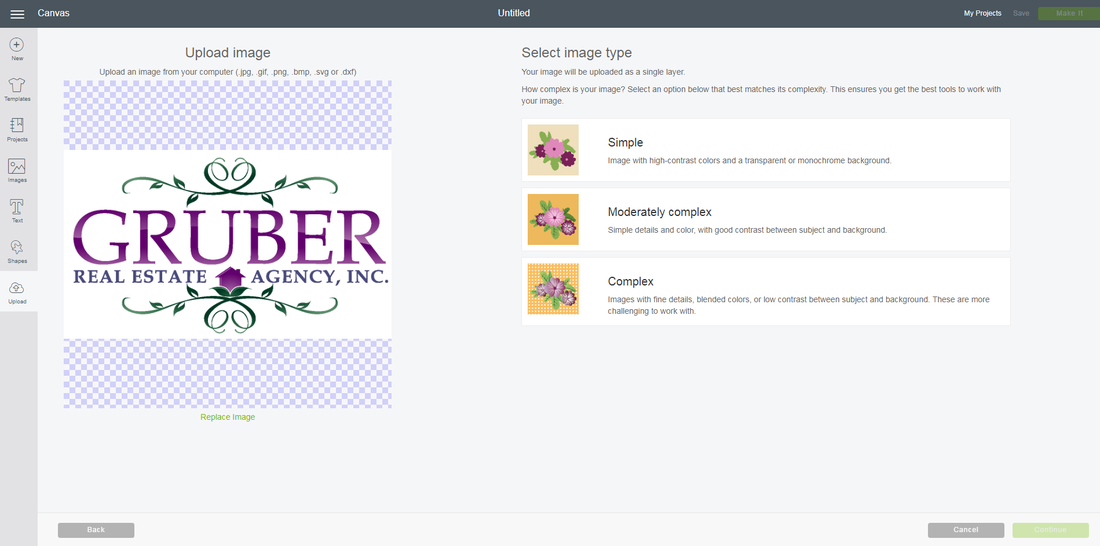
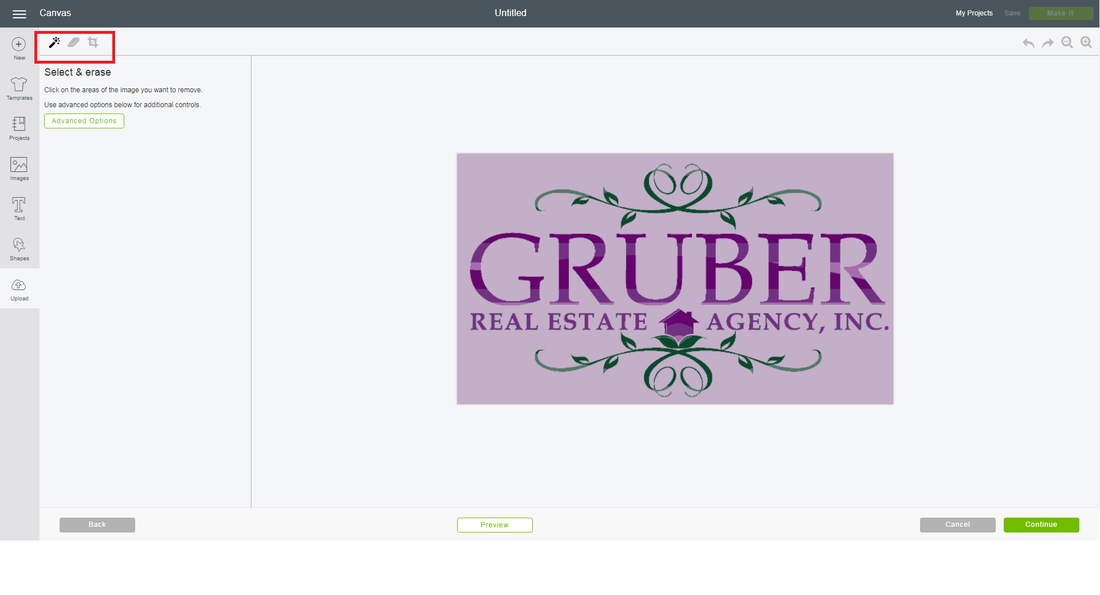
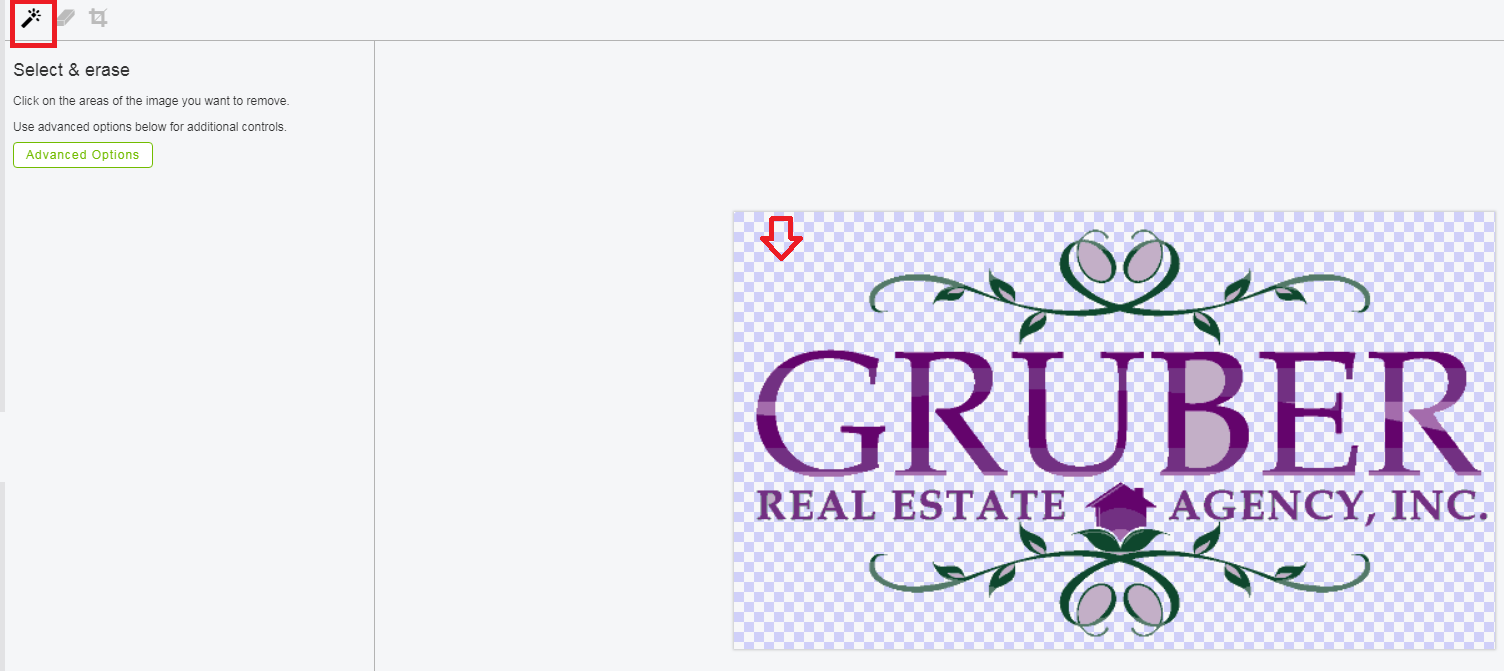
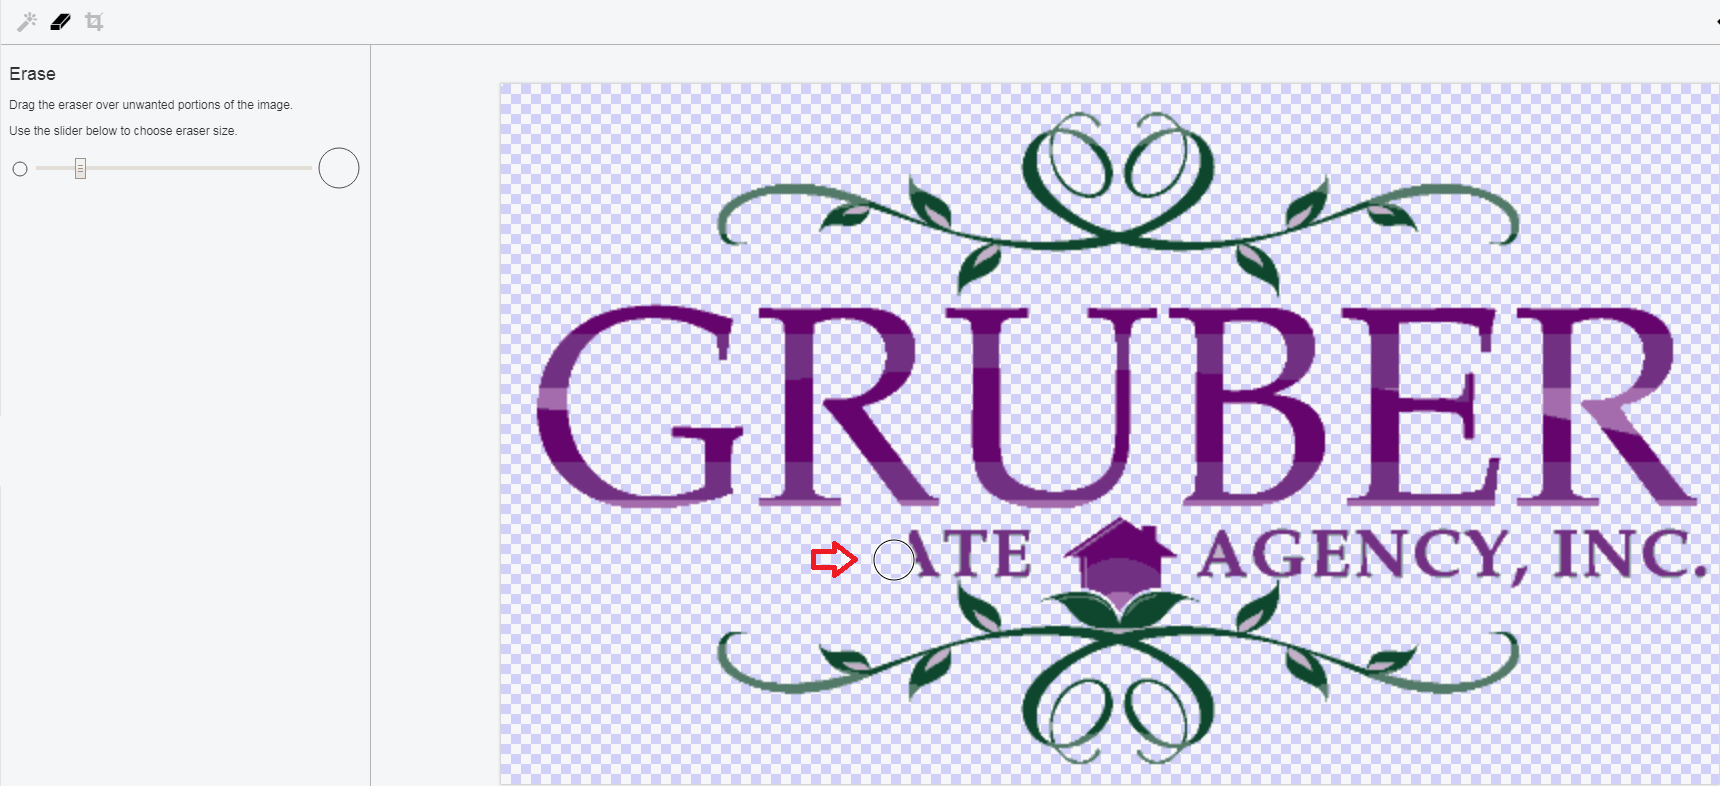
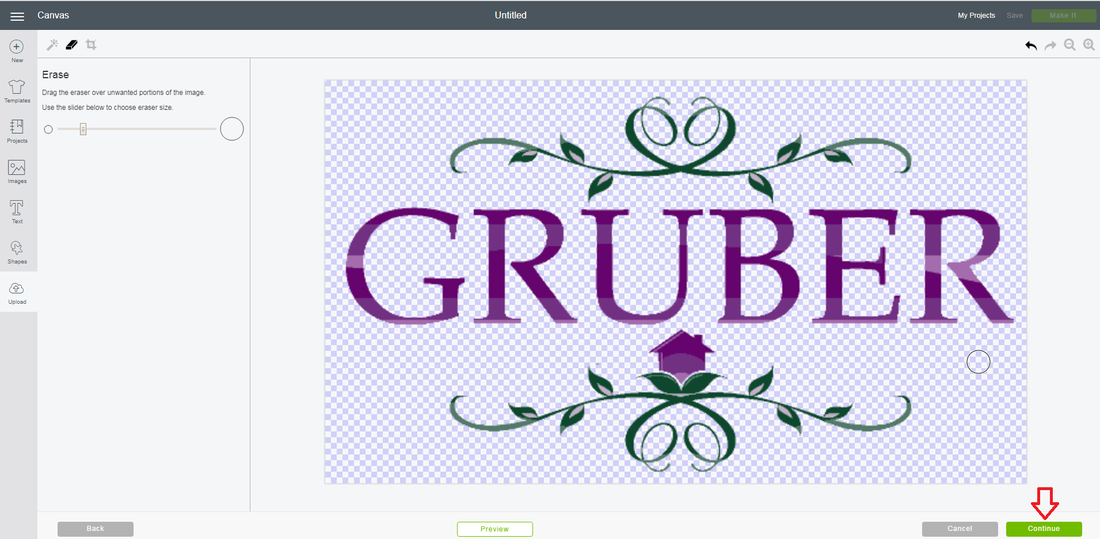
Do you want to add your own image into Cricut Design Space but want to edit it first? Learn to do that now. STEP 1: UPLOAD THE IMAGEOnce you click UPLOAD, you'll be brought to the [above] screen. In DesignSpace, you are able to import .JPG, .GIF, .PNG, .BMP, .SVG or .DXF files. These should be more than enough options for you, since you could always save in multiple image formats. when you click UPLOAD IMAGE, you will be brought to a screen where you can search for the location of a file on your computer. Select the one that you would like to import. For demonstration purposes, I am choosing the following. When you click UPLOAD IMAGE, you will be brought to the screen shown above. You can either Drag & Drop a file from your computer to the area or select BROWSE. If you select browse, you will be able to manually search for the file location on your computer. STEP 2: CHOOSE THE COMPLEXITY LEVELWhen uploading an image you can choose the level of complexity of the graphics. Since the final product that I'm making will be cut out of vinyl, I want the image to be simple. However, you can choose moderately complex, or complex. If you're going to cut and then print, then the latter two are the best options. STEP 3: ERASING WITH THE MAGIC WANDFor the image, I want to erase the words, Real Estate Agency, Inc. I want to keep everything else as it is. In the top left of the screen, you will see a magic wand, eraser and crop tool. I will start with the magic wand tool. Using the magic wand tool, select any connecting color that you want to get rid of. Here, I selected the purple background. When I click it using the wand, it instantly become transparent. This is shown here as purple and white checked background. Notice, because the light purple inside the "B" were not connected to the background, they remain opaque. Using the wand, click inside the B to make that space transparent as well. I also used the same technique inside the decorative leafs above and below the wording. STEP 4: USING THE ERASER TOOLNext to the Magic Wand is the Eraser. Click on it and you will be able to control it. A slide bar will appear allowing you change the size of the eraser. As you can see from the image below, I chose a relatively small erase tool. Simply click and drag the erasure circle to eliminate the parts that you desire. Below shows the completed image. After you are satisfied with the results, click the green CONTINUE button. STEP 5: YOU'RE DONEAfter clicking CONTINUE, you will be brought to the below screen. Often, you will find mistakes here, such as parts that you did not delete. If that is the case, then you can click the BACK button, on the bottom left of the Design Space screen.
Once you are satisfied with the final edit, you can choose whether you want to SAVE AS A PRINT THEN CUT IMAGE or SAVE AS A CUT IMAGE. If you wanted to print the design (often complex) and then have it cut out then choose the first option. In this case, I want to cut out the design in adhesive vinyl. So I chose the SAVE AS A CUT IMAGE, so just the silhouette is used. |
Cricut
|


