|
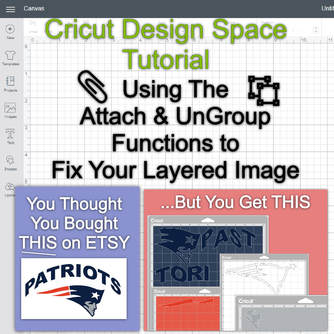
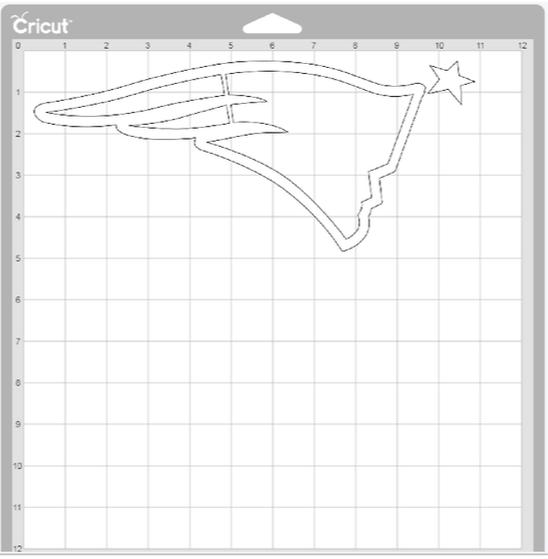
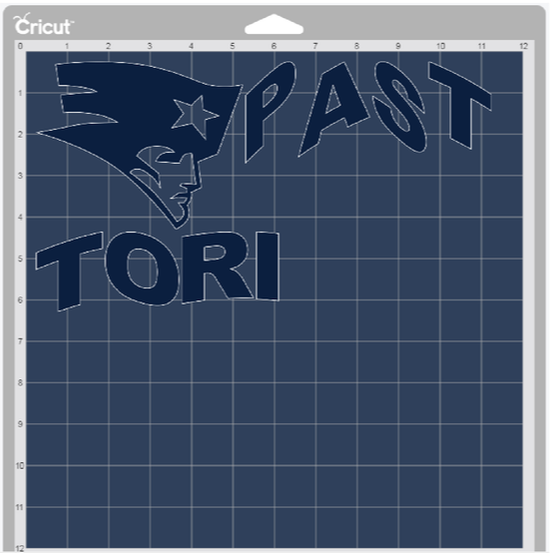
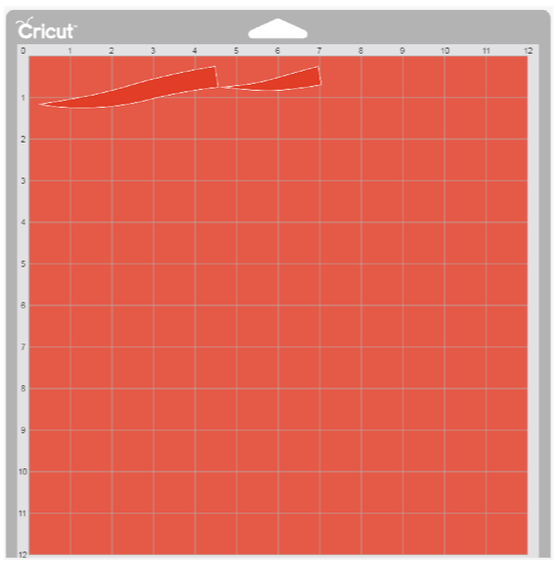
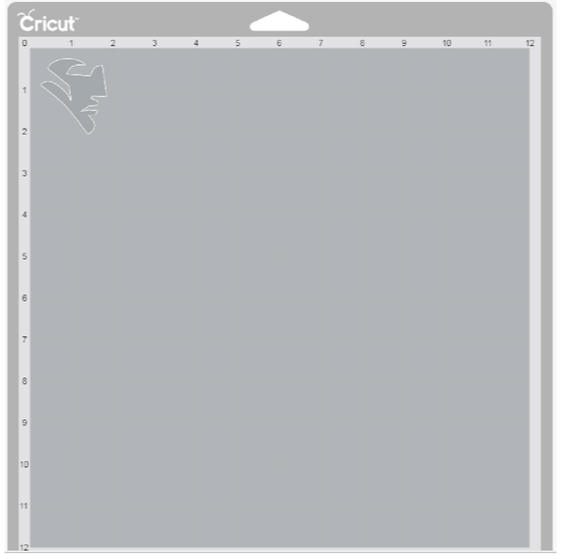
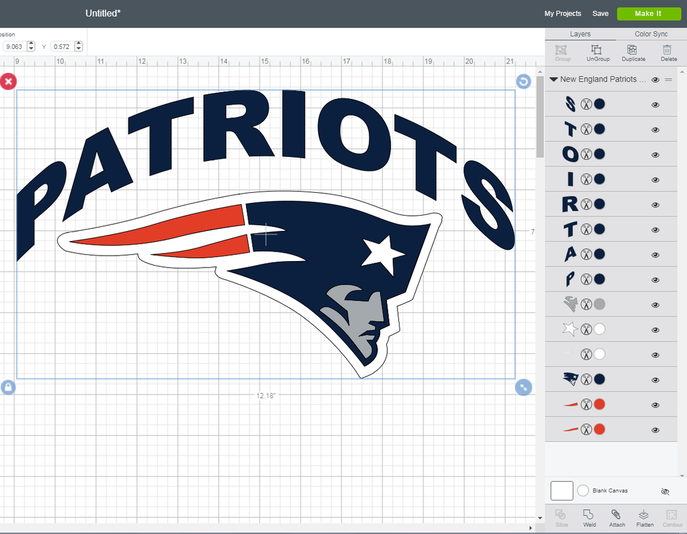
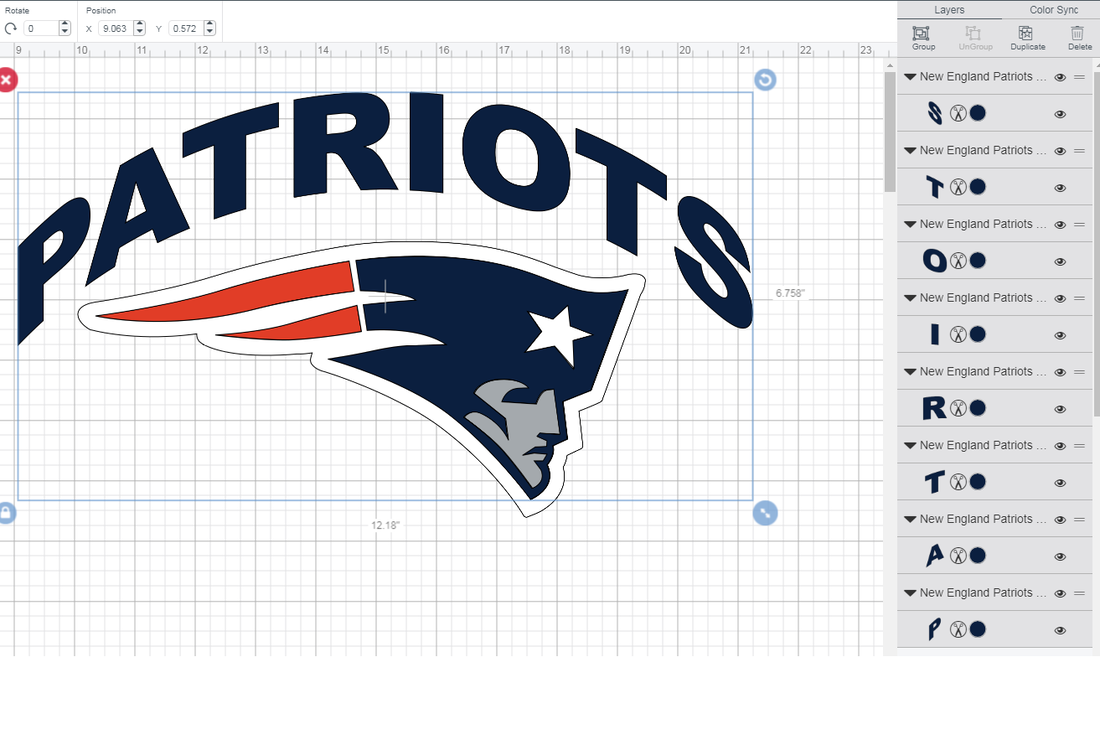
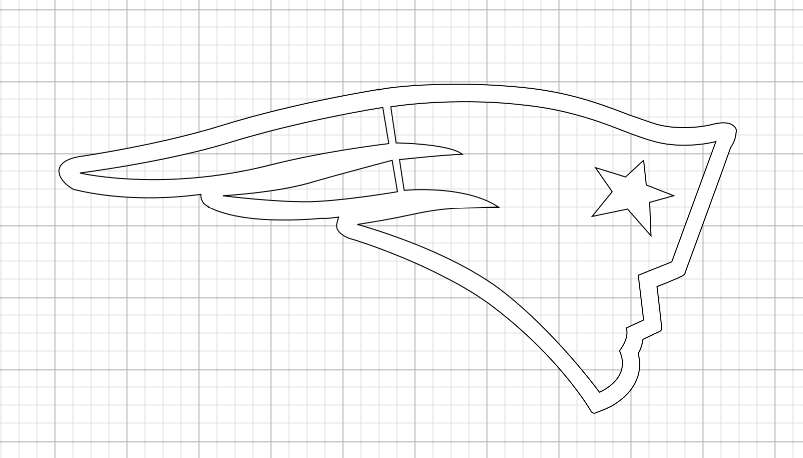
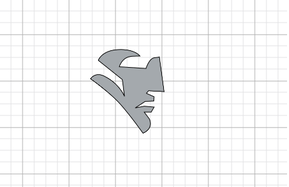
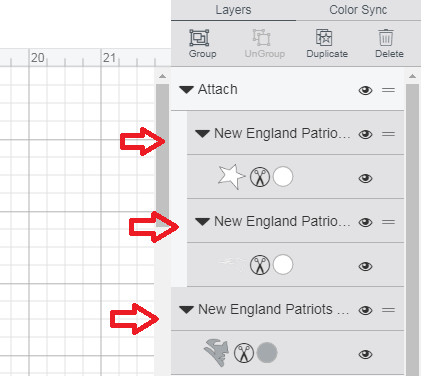
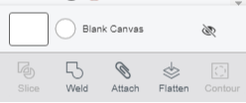
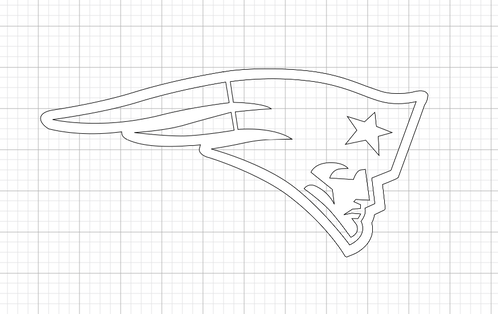
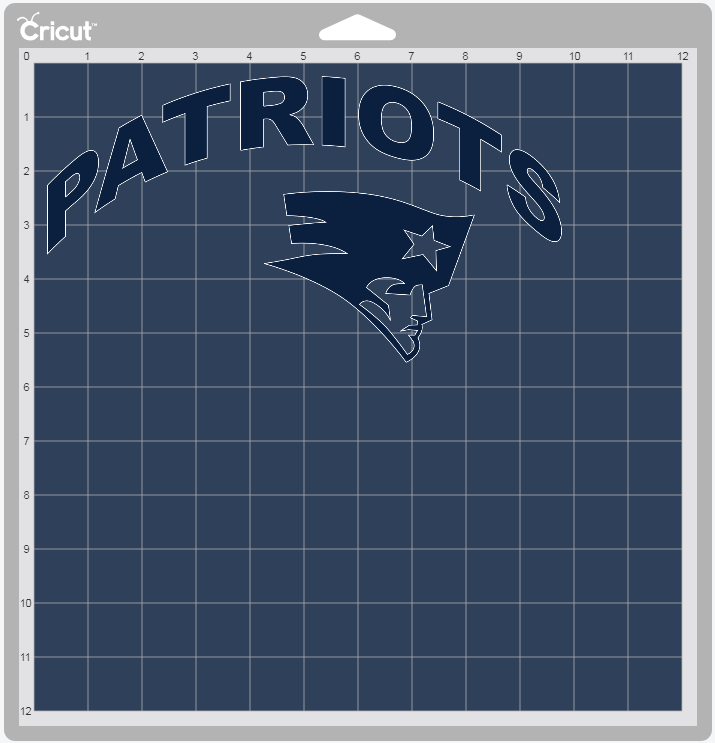
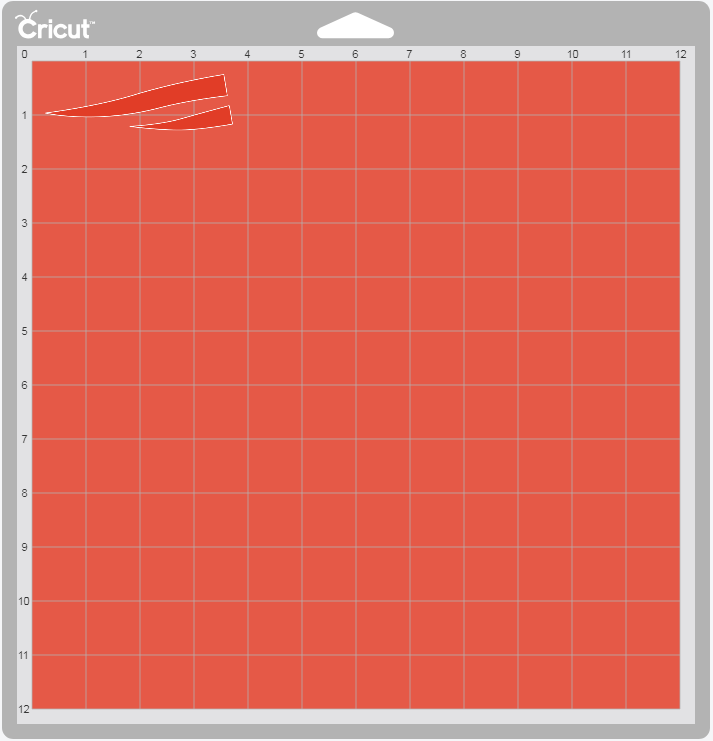
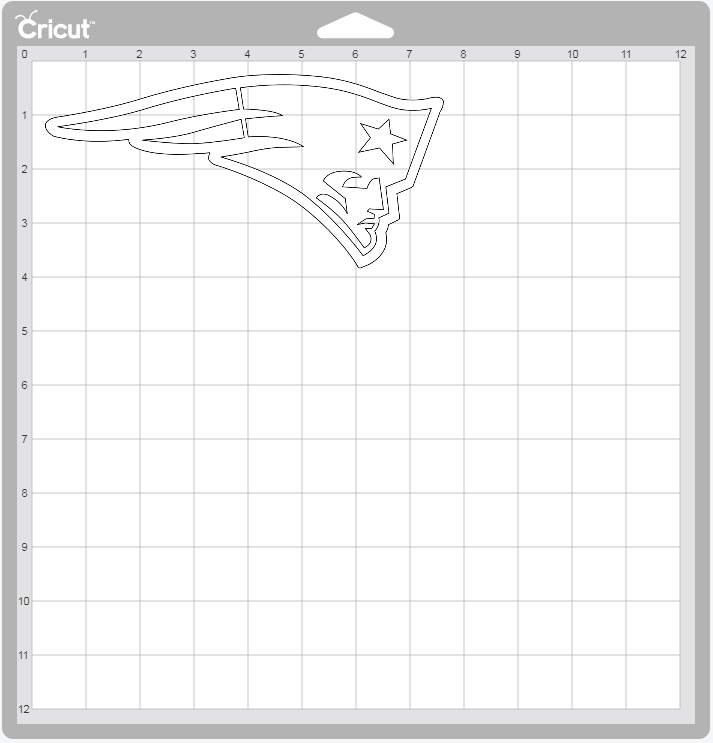
Here's the situation? You buy an .SVG image on Etsy. You load it into Cricut Design Space only to discover that the images on the layers are out of order. The solution to this takes less than a minute. I know, our video is almost 2 minutes. That's because it's filled we filled it with awesome graphics and some credits. The ProblemWHAT WE'RE MAKING: A sweatshirt with the New England Patriots' logo on it. WHAT WE'RE USING: Utilizing a Cricut machine, 3 unique patterns will be cut out of 3 different colors of heat transfer vinyl (aka iron-on vinyl). THE CHALLENGE: The image we bought has 4 layers and 4 colors. We want to eliminate the grey layer, as the sweatshirt will be grey and can be used for the "face" design. Additionally, some layer modifications need to be made before we can cut the vinyl. STEP 1: Ungroup The LayersWhen you Upload the image, all of the layers will be grouped together. In order to correct the jumbled, out-of-order images, you'll first need to "Ungroup" the layers. Select any part of the image and all of the layers will be highlighted. Alternatively, you can select/click any of the layered images on the right side of your screen. Then, on the top right portion of the screen, click the UNGROUP icon. STEP 2: Attach Layers By ColorWe're first going to attach all of the blue layers. Highlight each element that you want on the blue layer. The easiest way to do this, is to select the elements from the right side bar. First, we'll select all of the letters. We'll start at the "S" (on the top). Click it with your mouse. Then, holding the SHIFT key (COMMAND key on Mac), select all of the 7 other letters (each on their own layer). Next, since you'll want the Patriots' cowel/hat as the same color blue, you'll also click on that layer. STEP 3: Eliminate the Grey LayerAs mentioned earlier, the vinyl will be transferred onto a grey sweatshirt, thus eliminating the need for the grey color. However, look at the white layer image below. If you were to cut out the vinyl as such, the face would only be viewable if you were to iron-it on above the white layer. That would be just fine if you As such, we want to "erase/eliminate" the face pattern from the white layer. Therefore, the cricut will cut along these contours and the elements can be weeded out before transfer. This part can be a bit tricky, as you'll get different results if you group, attach, or weld. Now in the last step, you attached the two white layers together. In this step, you'll want to select the individual layers (the star and the outline) and NOT the "Attach" grouping above them. See the image below. Then, while still holding Command (or Shift) key, also select the Grey Face Layer. STEP 4: Make ItOnce you click the MAKE IT button (top right of your screen), you'll be brought to the mat screen. You'll notice that all of the images are correctly ordered. Before you cut, make sure that you mirror (reverse) the images as you'll be using heat transfer vinyl (HTV). Congratulations! You're done. As always, you Wanna Craft and we Wanna Help. E-mail us with any and all questions at help@wannacraft.com
|
Cricut
|


